Category: Accessible Travel Destinations

  • Whistler with Limited Mobility: Cerebral Palsy and a Torn Rotator Cuff

    Whistler on a Budget

    Like Vancouver, due in part to the 2010 Vancouver Olympics, Whistler is very
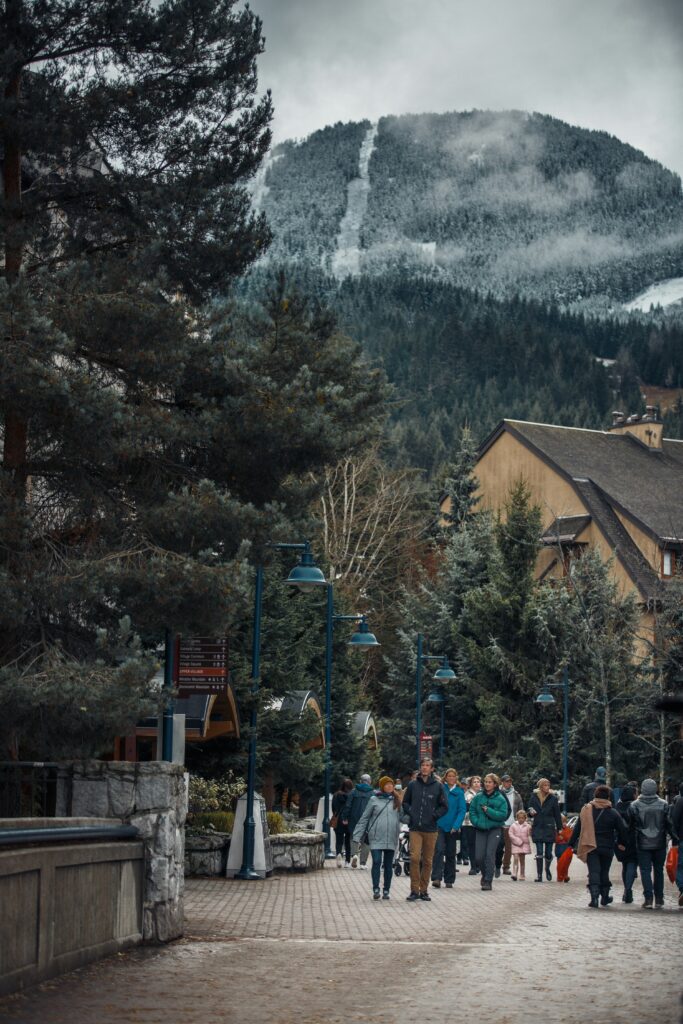
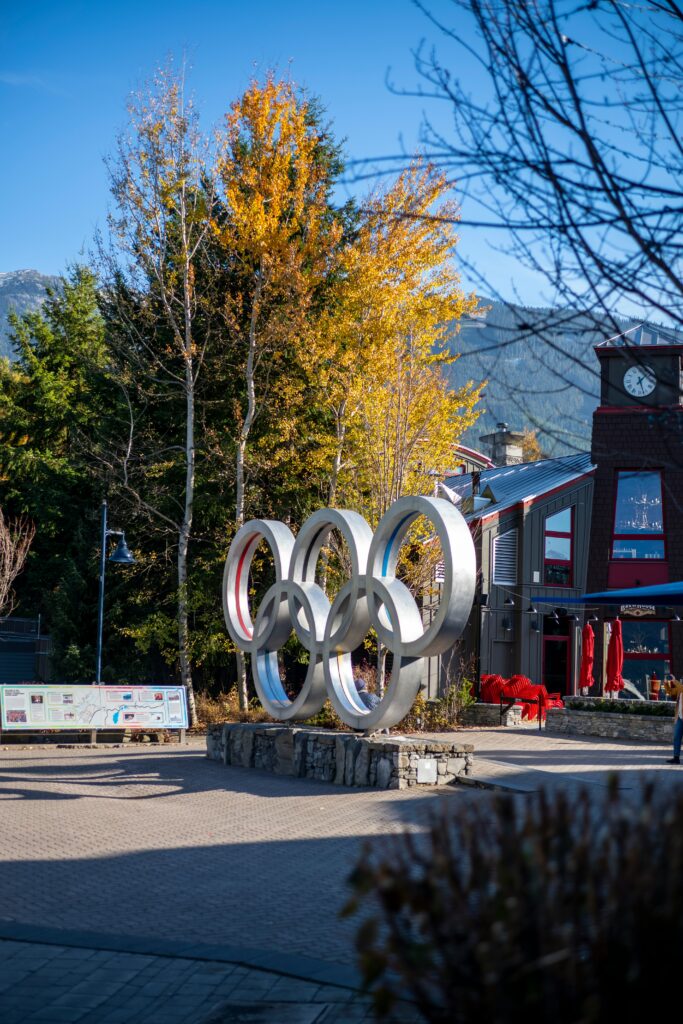
    accessible and is great for travelers with limited mobility. However, keep in mind that Whistler Village is pedestrian only. While this can be good for wheelchair users, it created problems for both Peggy and Dave. Unlike many other towns, where you can drive up and drop off at the front door of bars, restaurants, and activities, this is not possible in Whistler Village.

    Parking in Whistler Village is around the perimeter. We found the best option for dropping off and picking up close to the center of Whistler Village was to drop off at one of the hotels and then for me to go find parking in one of the large lots positioned in the exterior of the town.

    We made this mistake of leaving Dave’s wheelchair in the car when visiting Whistler Village. While I dropped Dave off close to the restaurant where we ate at dinner, we decided to walk to an ice cream shop for dessert. This was a mistake as the ice cream shop was downhill from the restaurant, and then there was no good way to get Dave and Peggy back to a location where I could pick them up in the car. In the end, we continued downhill and found a hotel with a bench where Peggy and Dave could wait while I retrieved the car and picked them up.

    Photo by Micah McKerlich on Unsplash

    As an alternative, many hotels may offer shuttles into Whistler Village. This is a great
    way to avoid paying for parking or the stress of needing to find a parking spot; however,
    keep in mind that this may mean a lot of walking, and most hotel shuttles are not
    wheelchair friendly.

    Superfly Zipline

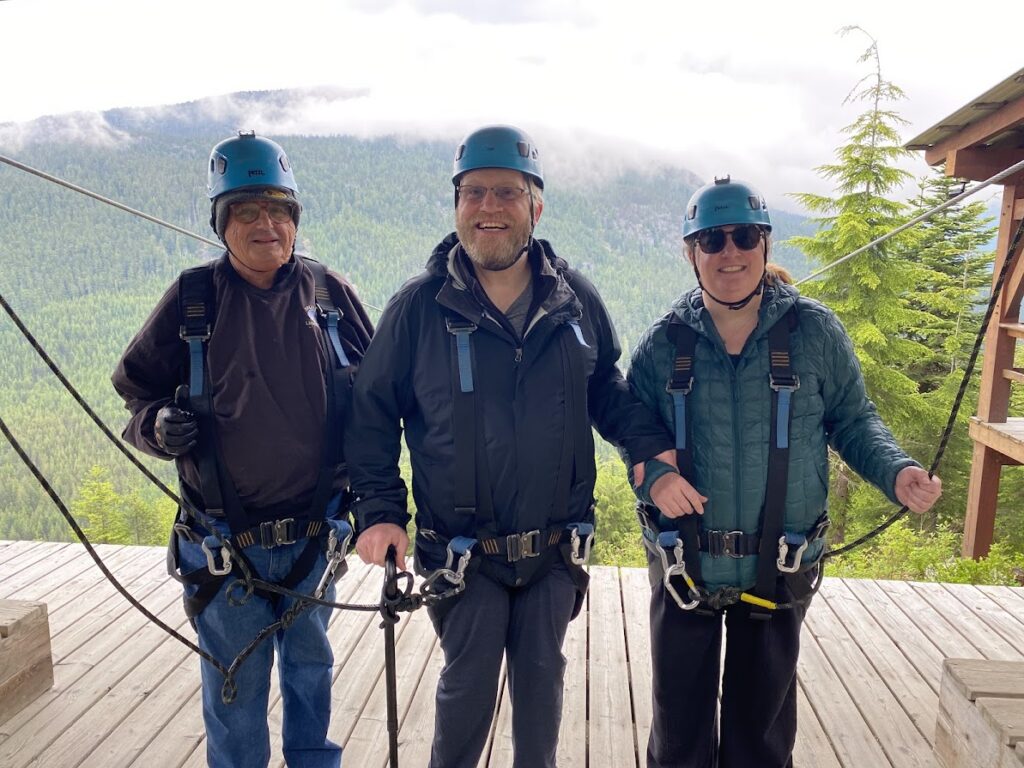
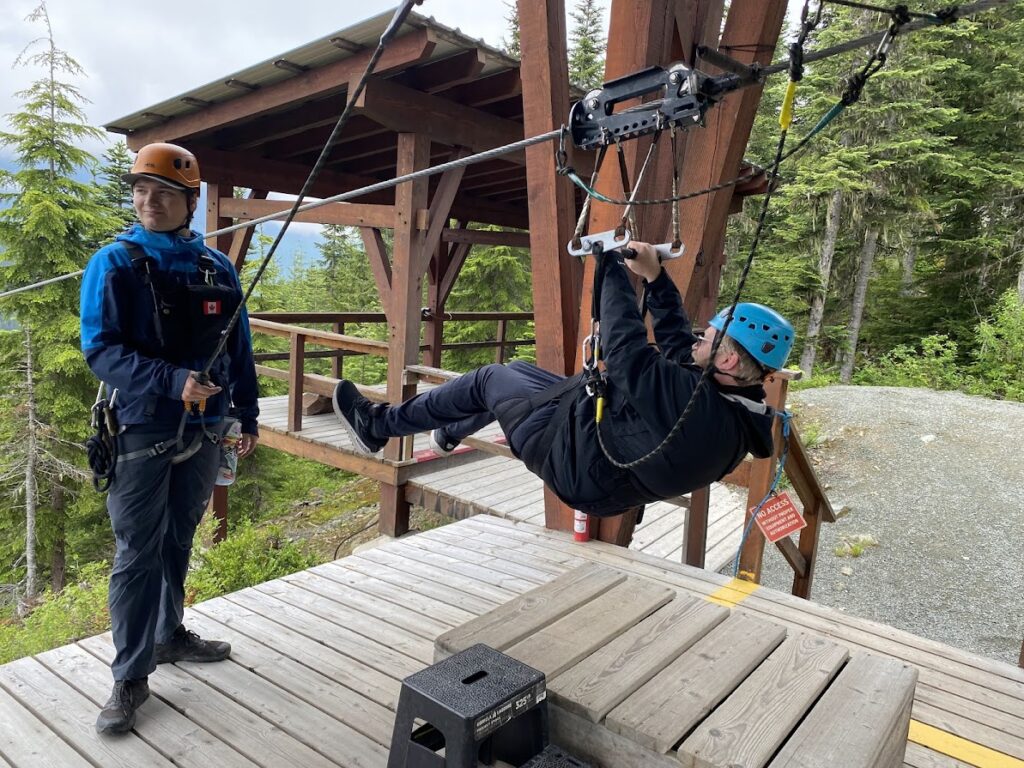
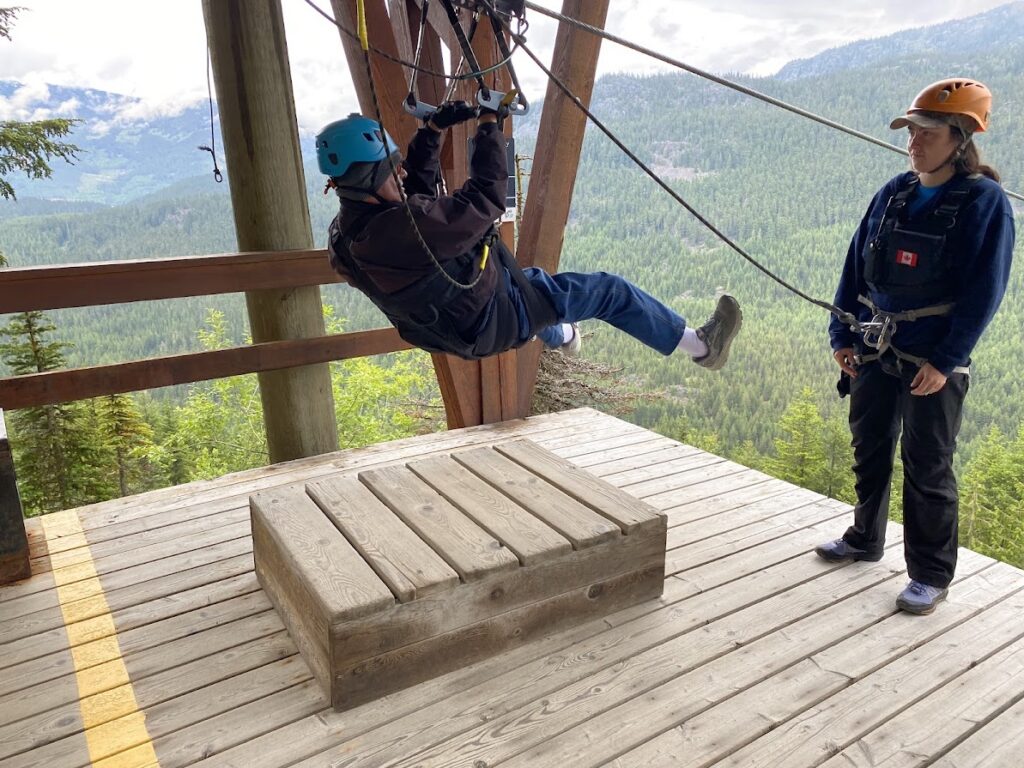
    Located a short drive outside Whistler, Superfly Zipline offers accessible options for ziplining on Cougar Mountain with breathtaking views of Wedge Mountain and Blackcomb Mountain. Superfly is experienced in working with guests with limited mobility; however, you must have sufficient hand strength and grip to hold the handlebar and must weigh between 60 lbs. and 250 lbs.

    Photo by Megan, Dave getting ready to zipline
    Photo by Megan, Ken ready to zipline

    Both Dave and Ken had moments of doubt about their ability to do this tour, but they overcame their fears and decided to give it a try. They were both able to enjoy the thrill of ziplining down the mountain with Superfly. Ken has a rotator cuff injury that limits his overhead strength; however, he had no problem holding on to the handlebar. Dave had more challenges with getting into his harness and on and off the individual zipline platforms. On one platform, the staff were able to lower him directly onto a wheelchair; however, the second platform did not have a wheelchair, and it took quite a bit of effort to help Dave get his legs down and to stand up.

    To slow down as you near the end of each zipline, they ask you to spread your legs apart. This was a challenge for Dave, given his CP; however, he was able to do as instructed. I’m not sure how they handle this for individuals with less mobility than Dave. Our guides indicated that they do sometime offer fully wheelchair accessible tours, so they likely have some additional accessibility options that they did not use for Dave.

    Dave’s advice for ziplining: close your mouth. Dave found himself breathless and his theory is that too much air was rushing in his mouth when he left it wide open as he gaped at the sites.

    While the tour is normally 4 ziplines for those who can ambulate without assistance; we were limited to only 2 ziplines. In addition to the ziplines, you will also take an ATV ride from basecamp up the mountain to the first zipline and back to basecamp after the second zipline.

    I can’t say enough great things about the staff. They really figured things out on how to make this a great experience for all three of us. I was very impressed with how friendly, competent, and helpful they were.

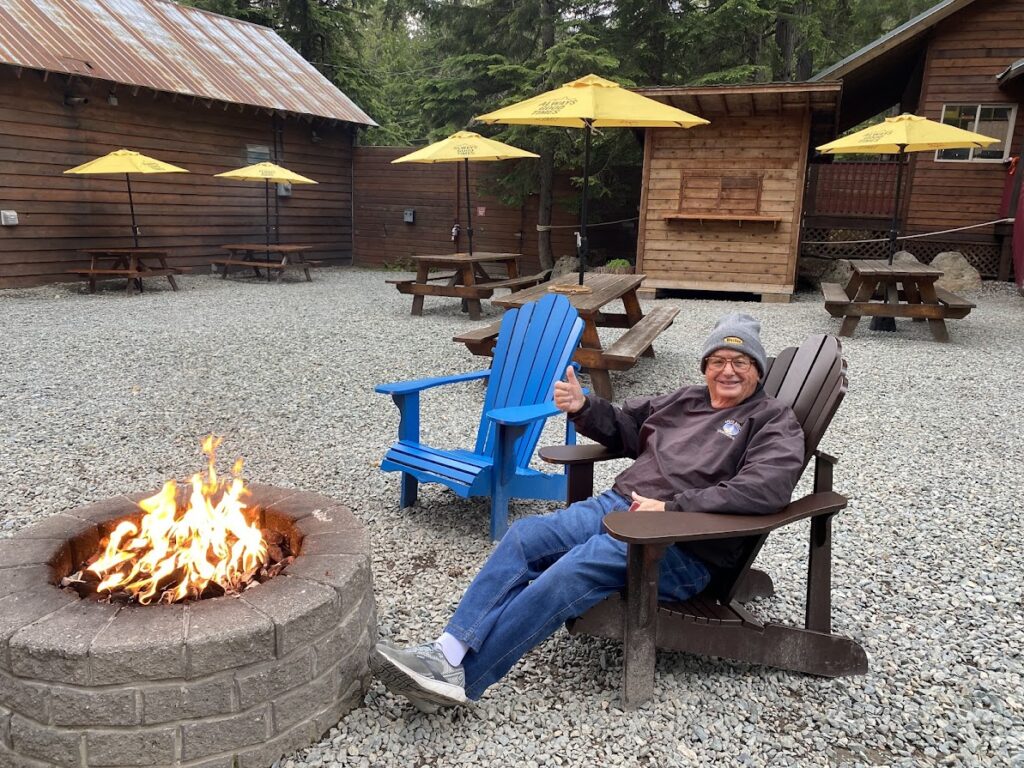
    It is chilly on the mountain, even in July, so dress warmly, but leave your baseball hat at home as you will be putting on a helmet. Ken enjoyed a seat by the bonfire in Basecamp while we waited for our tour to begin.

    Superfly is advertised as accommodating those with mobility disabilities on the Accessibility in Whistler website; however, they no longer have accessibility information posted on their own website. I encourage you to contact them directly to discuss the mobility limitations in your group and see whether they might be able to accommodate your needs. I booked our trip well in advance and conversed with them via email to ensure that they would have the ability to accommodate Dave’s limited mobility.

    Squamish Lil’wat Cultural Center

    One of the places on our itinerary that we simply ran out of time for was the Squamish Lil’wat Cultural Center.  The center is designed to evoke the form of a Squamish Longhouse and Lil’wat Istken and embodies the partnership between the Squamish and Lil’wat Nations.  There are hourly guided tours that include a hand drum welcome song, 15-minute film, and guided exhibit tour by Cultural Ambassadors from the Squamish or Lil’wat Nations.  

    There is a large ramp at the front of the building for accessible access. The Center is fully accessible with an elevator and clear views of the main activities for wheelchair users.  The pathways are a hard packed surface with a maximum slope of 5%.

    Peak 2 Peak Gondola

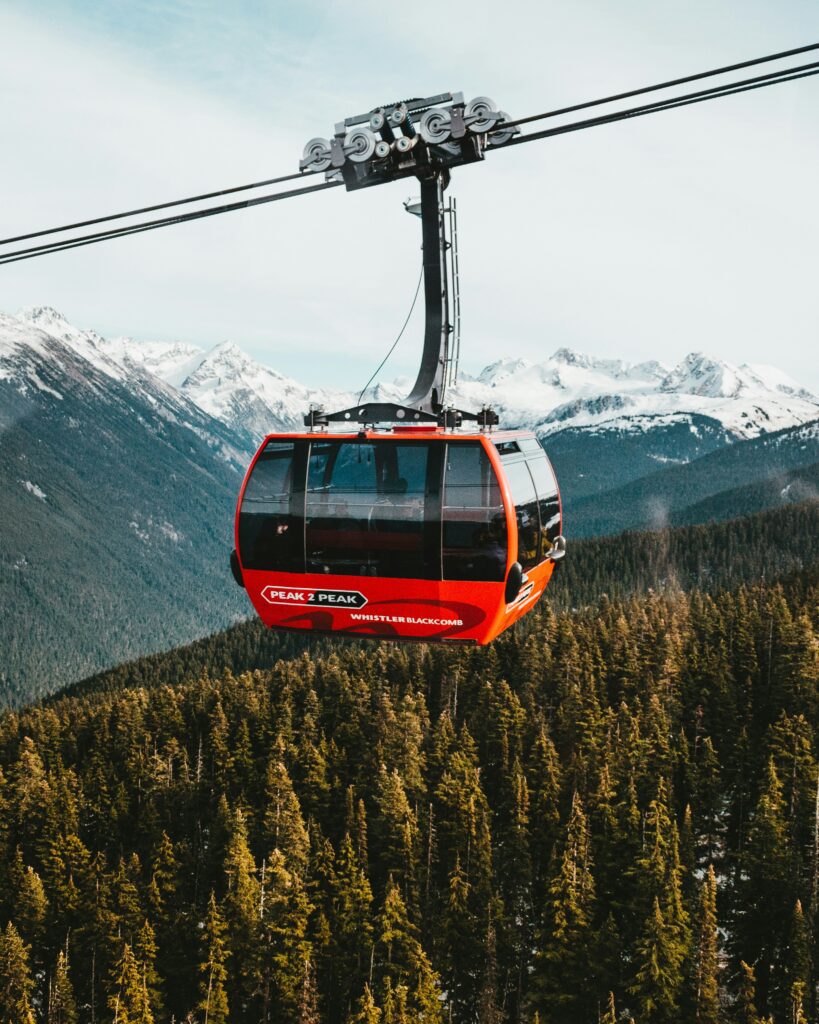
    Photo by Aditya Chinchure on Unsplash

    Year-round, but particularly in the summer time, the Peak 2 Peak Gondola is an incredible experience. Leaving from Whistler Village, you will take the Whistler Village Gondola (25 minutes) then transfer to the Peak 2 Peak Gondola (11 minutes) before coming down via the Blackcomb Gondola (25 minutes).  The entire trip is fully accessible, and they will stop the Gondolas to allow those with limited mobility to board.  The Peak 2 Peak Gondola spans the distance from Whistler and Blackcomb mountains in a 2.7 mile, 11-minute journey. Plan for the round-trip journey to take roughly 2 hours.

    The Peak 2 Peak Gondola has a glass bottom and provides a bird’s eye view of the forest.  The Gondola is fully enclosed and operates year-round.  
    While we didn’t take this trip on this vacation, Peggy and Megan previously took the Peak 2 Peak Gondola on a previous trip to Whistler.  It provides breathtaking views of the mountains, and we were even able to spot some wildlife while on our Gondola ride.

    Ticket prices vary by season and age group with discounted or free tickets for seniors, teens, and children.  Tickets do not sell out; however, during some seasons only some of the Gondolas may be available.  Operating times also vary by season.

    Hotel with a Walk In Shower

    We stayed in a two-bedroom condo at the Blackcomb Spring Suites by CLIQUE.  The suite was a two-bedroom, two-bathroom suite with a full kitchen and living room.  One room had a king-sized bed and the other was two twins.  At least one of the bathrooms had a walk-in shower.  The hotel had a pool and hot tub as well as a grilling area if you wanted to cook your own food.  It was located a little outside of the main Whistler Village area; however, it did provide a shuttle to get to the Village if you didn’t want to drive your car and find parking in town. To Ken’s disappointment, there was no air conditioning; however, fans were provided.  We did not book an accessible room at this hotel, and the toilets were a little bit lower than Dave and Peggy would have preferred.

    Photo by Mia de Jesus on Unsplash
  • Limited Mobility on the Sea to Sky Highway to Whistler

    The Sea to Sky Highway to Whistler with Limited Mobility

    Our next stop on our Grand Western Canada Road trip was Whistler, British Columbia via one of the most beautiful roads in the world, the Sea to Sky Highway.  The drive is truly breathtaking, with views of Howe Sound on your left and the Canadian Cascades to your right.  Even if you don’t have time to stay in Whistler, we highly recommend making the drive.
    If you make this drive, we recommend bringing your handicapped placard, if you have one, as there are many places in Canada where you will have options for preferred parking with a placard.  We left ours at home, and it was a real mistake.

    Take your time to do this drive.  There’s no rush, and so much to see.  The stops are worth it, and this is truly a beautiful place to explore.

    GuideAlong

    Again, we used the previously downloaded Canadian Rockies + Vancouver bundle from GuideAlong to guide us on this drive.  As mentioned in our previous blog post about Vancouver, GuideAlong (formerly known as GyPSy Guide) uses GPS tracking via your cell phone and provides audio narration for nearby landmarks, attractions, or even just local history. Just download the app and tour content before you hit the road, and you can access the tour even offline.  By the end of the trip, we were calling our GuideAlong “virtual guide” our dude friend and were always so happy to hear him chime in to give us information.  As in Vancouver, the virtual guide was very helpful on our drive to Whistler.

    Lions Gate Bridge

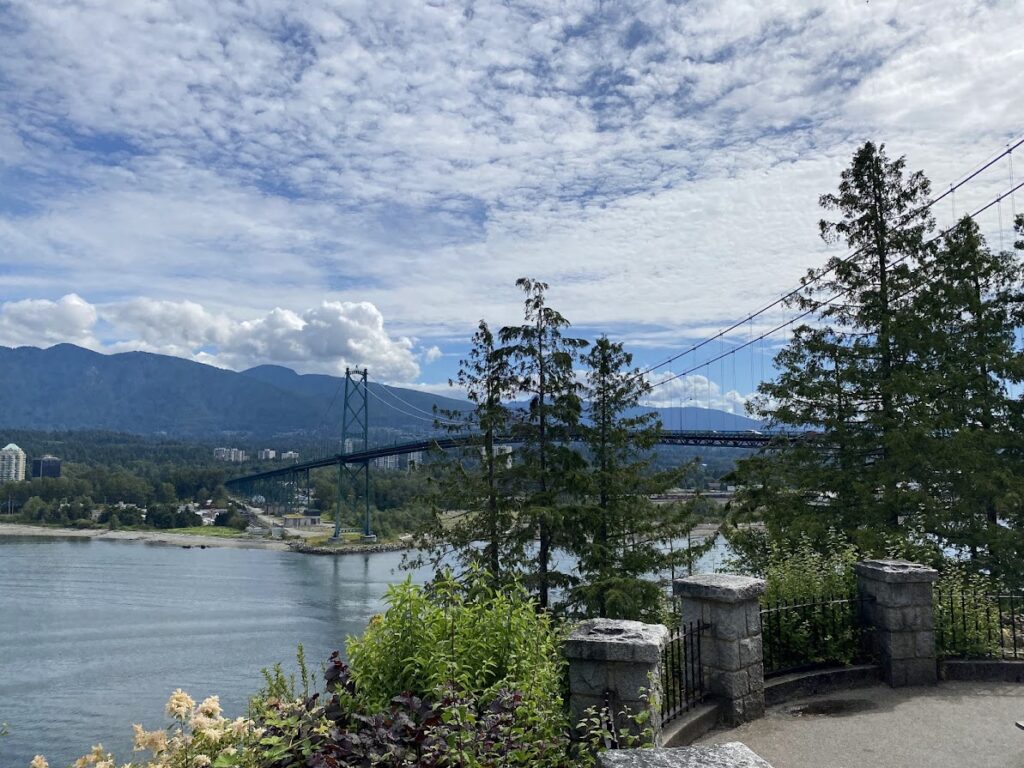
    As we left Vancouver and head towards Whistler, we crossed the Lions Gate Bridge, named after a pair of mountain peaks north of Vancouver.  You will pass a pair of cast concrete lions on the south approach to the bridge.  The bridge was built by the Guinness family (of Guinness beer fame) and was sold to the province of British Columbia in 1955 for the cost of construction. 

    Shannon Falls

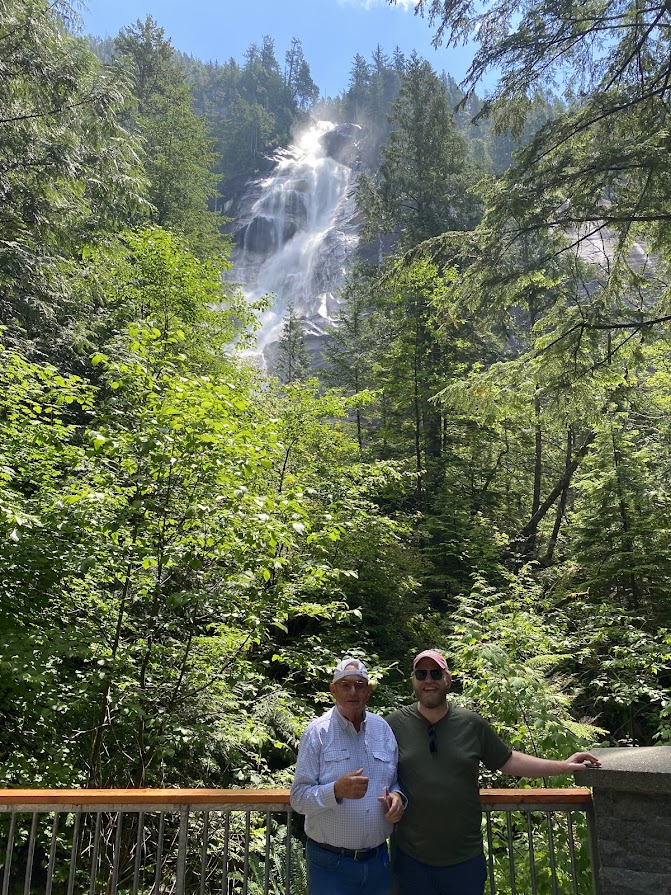
    Shannon Falls photo by Megan, Photo of Dave and Ken at Shannon Falls

    Our first stop along the Sea to Sky Highway was at Shannon Falls.  If you are making this stop, be patient.  There is limited parking and the wait can be long.  There is no parking fee. We almost turned around due to the wait for parking, but in the end, we were glad we stuck it out.  There are accessible toilets near the parking area. Additional accessibility information on the park is available.

    We ate lunch at one of the picnic tables here.  The walk to the viewpoint is about 350 m on a gentle gravel path.  This walk was too much for Peggy, but Dave had no problems with his wheelchair.

    If you are going to the Sea to Sky Gondola next, there is a walking path between the two, and it might be easier for those without mobility restrictions to walk rather than wait for parking at Shannon Falls.  You also can catch partial views of Shannon Falls from the Gondola, but the view isn’t nearly as spectacular as from the viewing platform.

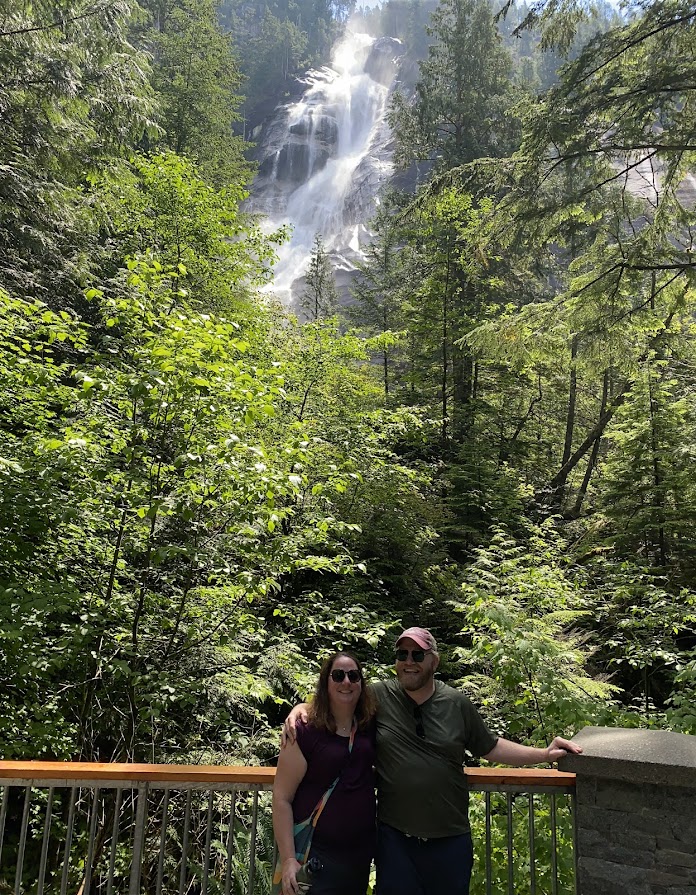
    Photo by Megan, Shannon Falls with Dave and Megan

    Sea to Sky Gondola

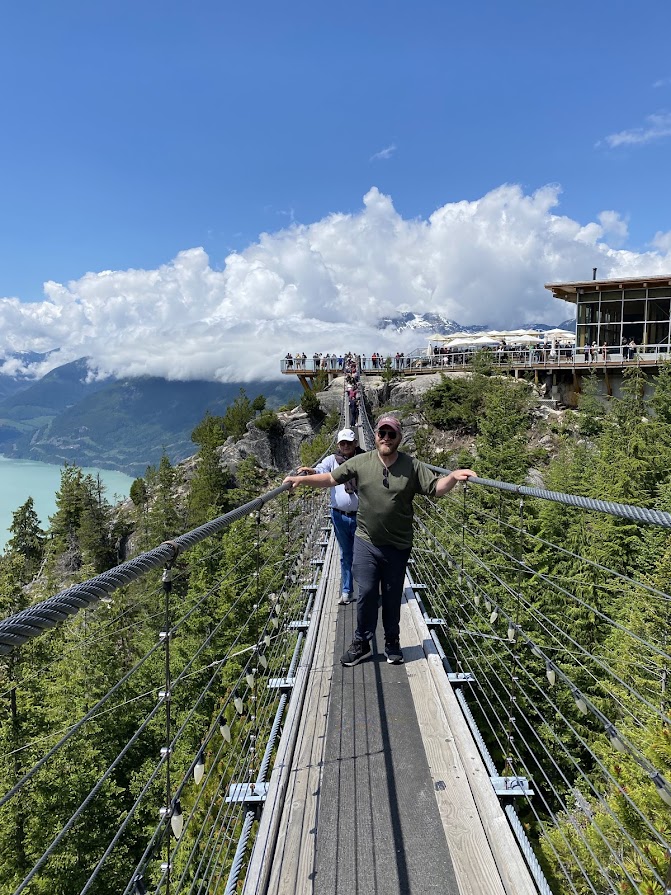
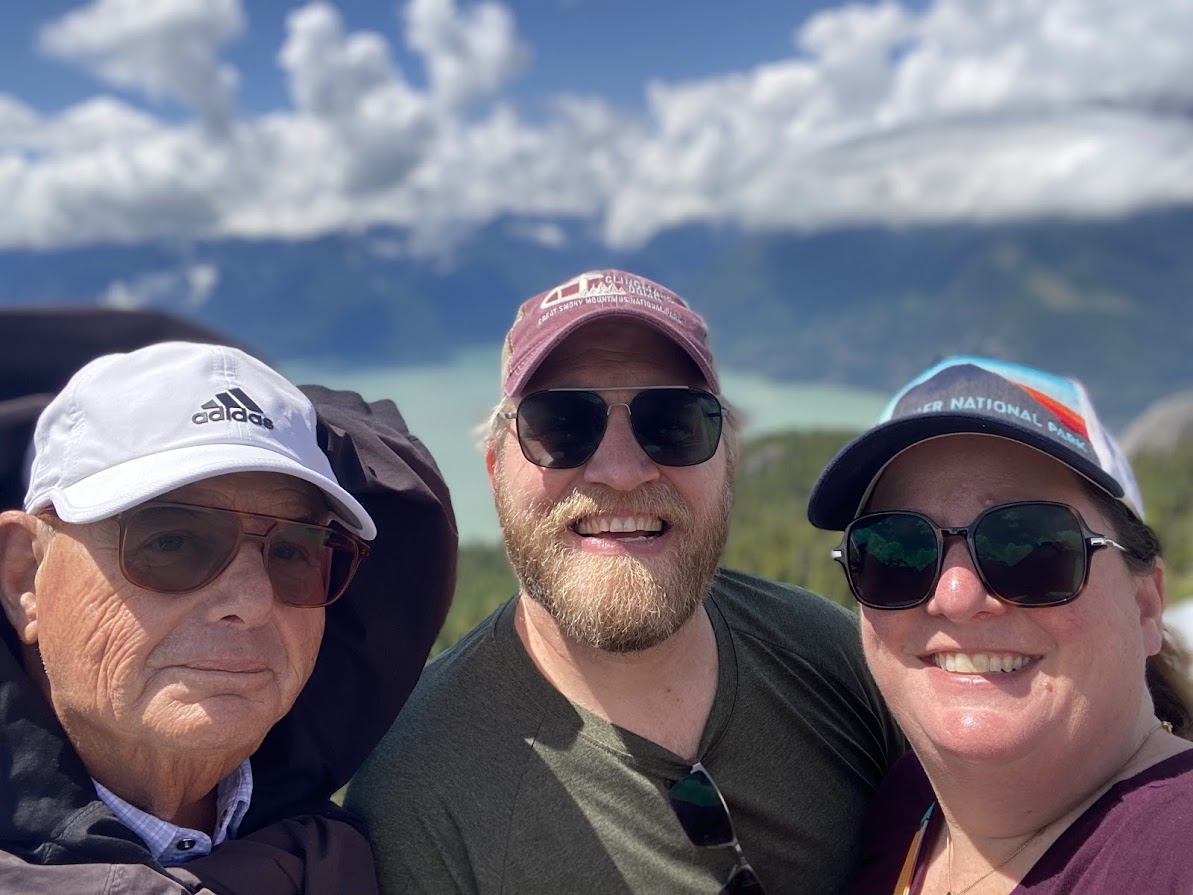
    Photo by Megan, Sky Pilot Suspension Bridge with Dave and Ken

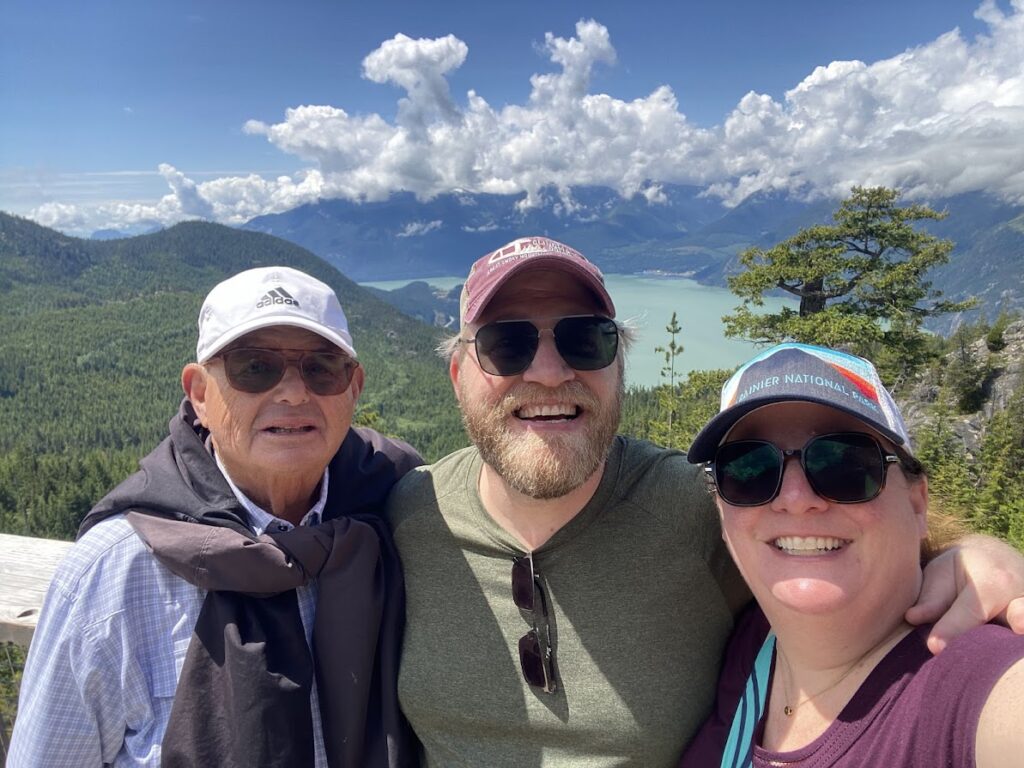
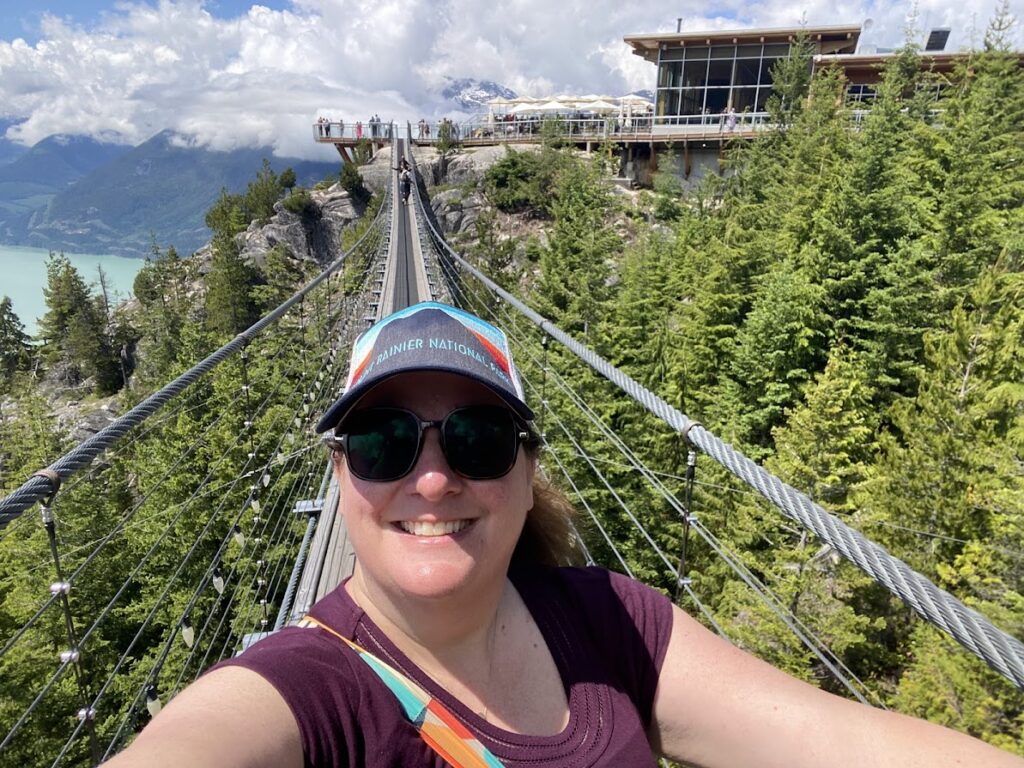
    Our second stop on the drive was at the Sea to Sky Gondola in Squamish.  The gondola is fully wheelchair accessible, and the staff really seemed to know what they were doing to support people with limited mobility like Dave and Peggy.  The Gondola takes you to near the summit of Mount Habrich.  If going in the summer, like we did, you can grab a meal at the Sky Pilot Smokehouse or take a walk across the Sky Pilot Suspension Bridge.  The bridge gets crowded.  While Dave’s wheelchair probably would have fit, it would have been a real challenge as no one would have been able to fit past him.  Both Dave and my 78-year-old father, Ken, enjoyed walking across the bridge.  Peggy watched from a safe distance at the café.

    During the summer, if you have more mobility, there are several options for hiking trails and even an option for a Via Ferrata, but those things were well beyond Dave and Peggy’s capabilities.  If you visit in the winter, there are also options for tubing, Nordic skiing, ski touring, and winter hiking.

    At the time we visited, prepaid tickets cost $67.95 for an adult and $64.95 for a senior; however, prices may vary by date. 

    Photo by Megan, View from the sky Pilot viewing platform
    Photo by Megan, Megan on Sky Pilot Suspension Bridge

    Brandywine Falls

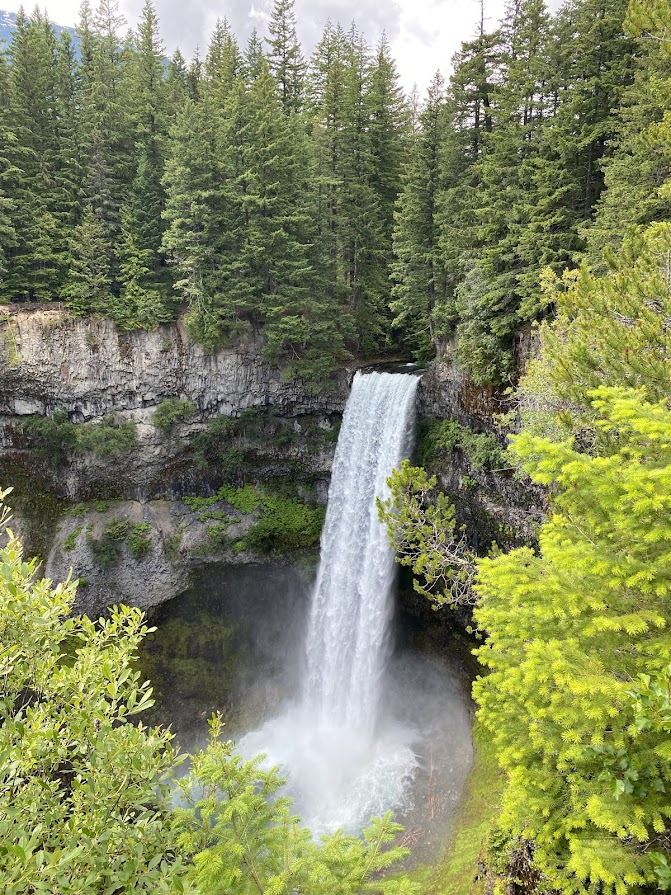
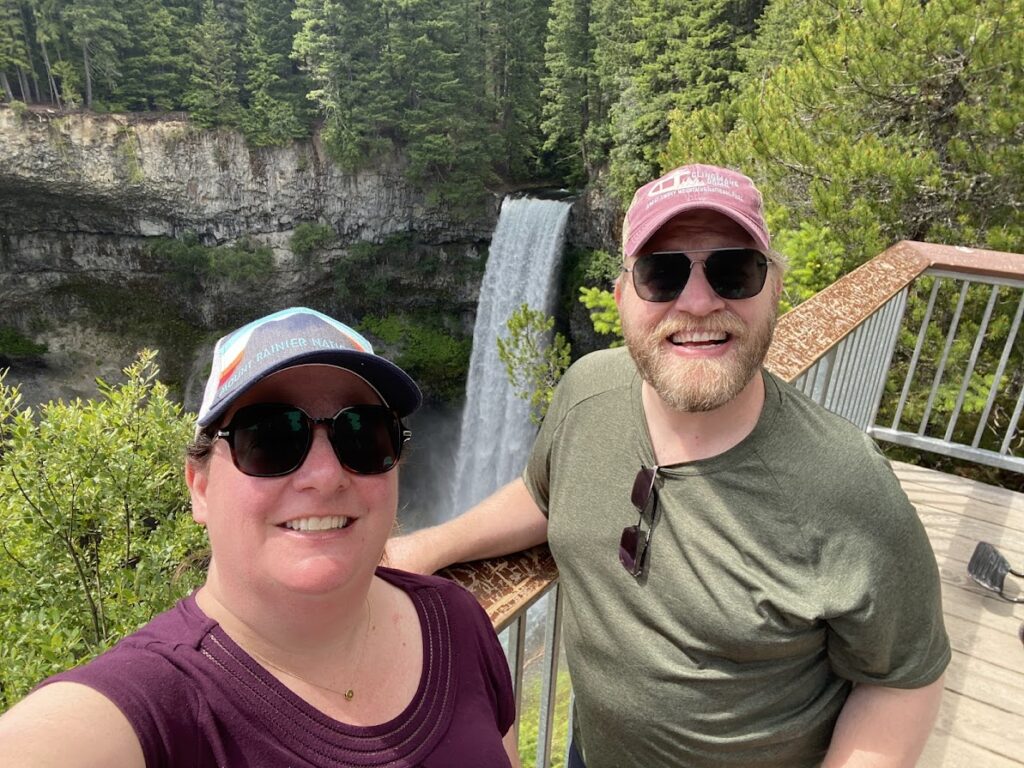
    Photo by Megan, Brandywine Falls

    Our third stop along the Sea to Sky Highway was at Brandywine Falls.  Again, here there is limited parking, but we didn’t find the wait to be as bad as Shannon Falls.  There is no parking fee. There are accessible toilets near the parking area. Additional accessibility information on the park is available.

    The walk from the parking lot to the falls is about 500 meters, or about 10 to 15 minutes, and is on a flat gravel trail.  The walk was a little too long for Peggy so she waited for us at a picnic table.  Dave’s wheelchair could generally handle the trail; however, there was a bump when entering and exiting the bridge over the river that was too much for his wheelchair to handle so he had to stand up to get past that bump. There is a viewing platform that should be accessible but may have a slight lip. Brandywine Falls are really beautiful, and we were glad we made the stop.

    Photo by Megan, Dave and Megan on the viewing platform at Brandywine Falls
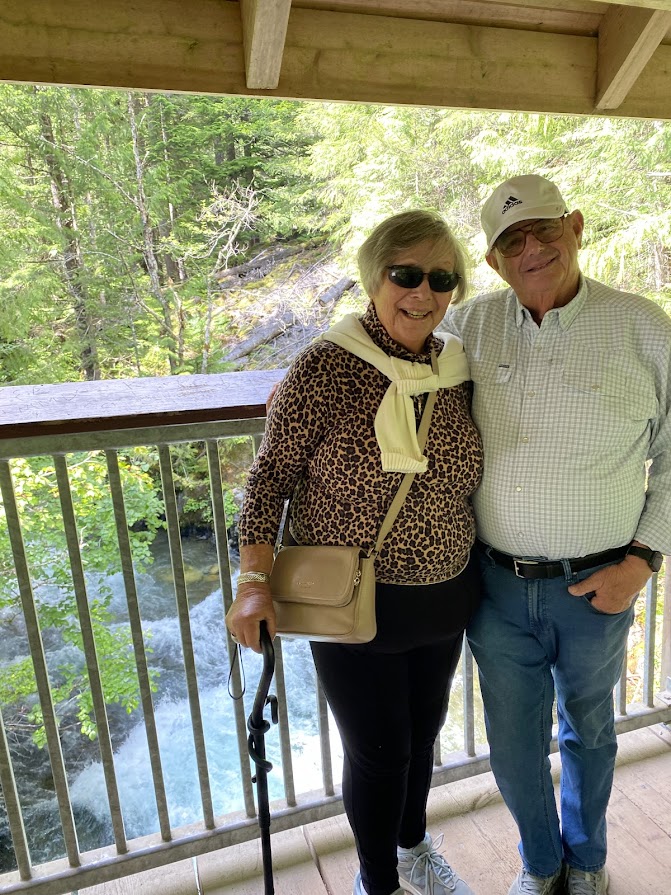
    Photo by Megan, Ken and Peggy on the bridge to Brandywine Falls

    Remainder of the Drive to Whistler

    Along the Sea to Sky Highway, there are a number of good pullouts with views across Howe Sound and the Tantalus Range.  You can also stop in the town of Squamish.  In the winter, this might be a good place to spot bald eagles, as they are known to spend their winter here, feeding on salmon.

  • Vancouver with Limited Mobility in a Day and a Half

    Starting Our Canadian Adventure

    For our second trip of 2024 with Dave’s wheelchair, we set off on a family road trip with Megan’s parents across the Canadian Rockies, starting in Vancouver with stops in Whistler, Kamloops, Jasper, and Banff (note that this trip took place shortly before the wildfires in Jasper in 2024 so some things may have changed). Like Dave, Megan’s mom, Peggy, has limited mobility due to arthritis in her feet, a previous foot fusion, and artificial hips and knees. We like to say that Peggy is bionic below the waist. At the time of this trip, Peggy did not have a mobility device, but she has difficulty walking long distances. The entirety of this spectacular Canadian road trip will be covered via multiple posts, so this first post focuses only on our first stop – Vancouver, BC.

    Vancouver was a great city for all four of us for a short visit. I wish we had more time
    here! Due in part to the 2010 Olympics in Vancouver, it is a highly accessible city with good sidewalks, curb cutouts, and friendly helpful people.

    Accessible Budget Minded Hotel that Gives Back

    Megan’s parents are budget minded travelers, and the most reasonably priced hotel we could find in the heart of downtown Vancouver was the YWCA hotel. The price was extraordinarily lower than any other comparable hotel we could find, with clean, spacious, accessible rooms, full kitchen availability for cooking your own meals, and friendly, accommodating staff. We can’t recommend the YWCA highly enough – a perfect location with easy access to numerous city attractions. In fact, if you are catching an MLS game, a CFL game, or a concert, BC Place Stadium is right next door. Our hometown MLS team was actually playing there on the night we arrived, but our long travel day left us too wiped out to add the game to our itinerary. One last note about the hotel before we get to the fun stuff: The YWCA hotel is a social enterprise hotel and primarily serves as a fundraiser for the YMCA. All of the revenue generated by the hotel supports YWCA community programs and services for single moms and families.

    Photo of Lions gate Bridge

    GuideAlong and Stanley Park

    Now, onto the road trip fun!

    Before hitting the road, we downloaded the Canadian Rockies + Vancouver bundle from GuideAlong, which was the best money we spent on the entire trip. GuideAlong
    (formerly known as GyPSy Guide) uses GPS tracking via your cell phone and provides audio narration for nearby landmarks, attractions, or even just local history. This is especially useful given how often national parks are devoid of cell or Wi-Fi service. Just download the app and tour content before you hit the road, and you can access the tour even offline. Your GuideAlong “virtual guide” also provides helpful, specific suggested routes to maximize your fun, and minimize your traffic jams while on the road.

    Totem Pole Park

    Our first stop in Vancouver was Stanley Park. The GuideAlong tour gives you step by
    step instructions on where to drive, down to which lane you want to be in to make stops and turns, along with useful commentary on what you will see and instructions on where to stop. You will need to pay for parking in Stanley Park, and you can do so in a parking app.

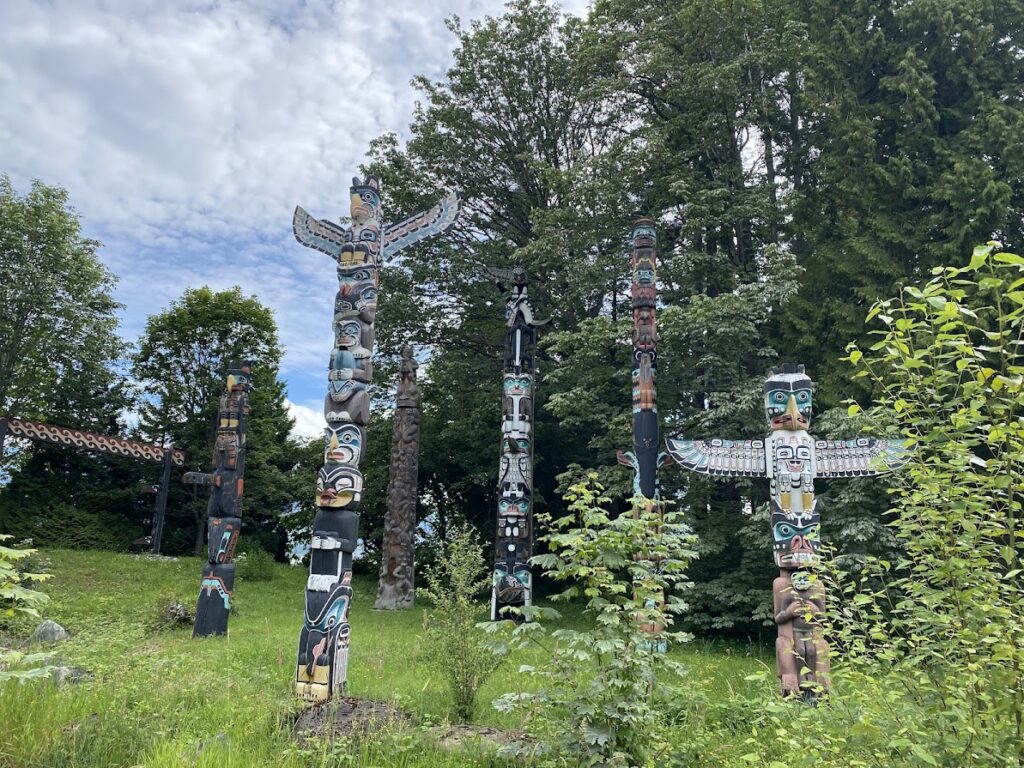
    We drove the loop around Stanley Park, stopping at the Totem Pole Park, Siwash Rock, and Prospect Point. The walk from the parking lot to the Totem Pole Park is short and easy to navigate for both people with limited walking stamina and for those in a wheelchair. While Peggy had to take a seat upon arrival at the Totem Pole Park, she was able to enjoy the Totem Poles and hear about some of the history. This is definitely worth a stop.

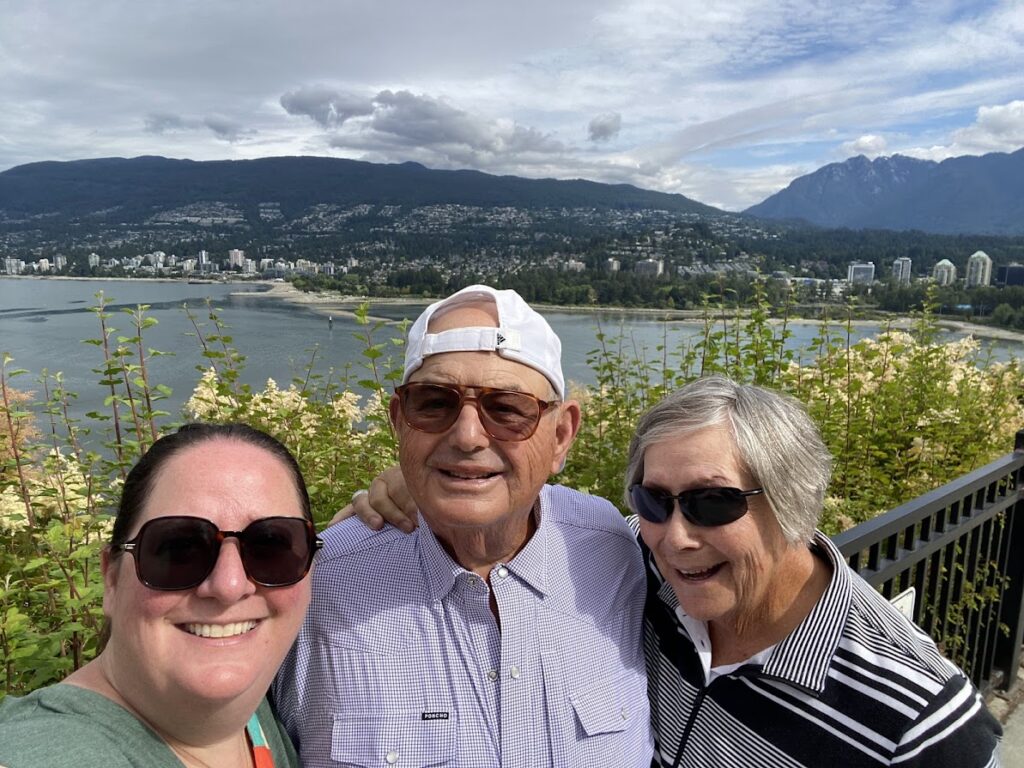
    We also really enjoyed the stop at Prospect Point. Prospect Point is the highest point in Stanley Park and has great views out to the Pacific Ocean, Lions Gate Bridge, as well as a peek at the cruise ships in the harbor if that’s something you enjoy. The upper part of the lookout is a short walk from the parking lot, which was challenging for Peggy, but no problem for Dave’s wheelchair. Prospect Point has a café and ice cream shop as well as accessible public restrooms.

    There’s a ton to do in Stanley Park, and you can easily spend a day or more just
    exploring all it has to offer. For those who enjoy an outdoor adventure, there is a paved bike path that runs all the way around the park’s seawall, roughly 10 KM. It is a concrete surface that can be traveled one way, counterclockwise, around the park and is wheelchair accessible. We didn’t have time to do the seawall path, but it’s a great option if you have more time than we did.

    Another stop that we didn’t have time for is the Vancouver Aquarium, Canada’s largest aquarium. For those with physical disabilities, the Vancouver Aquarium offers
    wheelchairs, noise cancelling headphones, strollers, and walker rentals, and the
    Aquarium allows accredited service dogs with proof of certification except in the free
    flight Amazon gallery. For people with sensory disabilities, the Aquarium offers comfort kits, weighted blankets, and sensory friendly hours. Disabled guests who purchase a full price ticket can invite an attendant to join them for free.


    There are so many fun things to do in Stanley Park, and it is very accessible for those with limited mobility!

    Lunch Time!

    For lunch, we had reservations at the nearby Little Bird Dim Sum. Little Bird is listed in the Michelin Guide as a Bib Gourmand restaurant. This was Ken and Peggy’s first time trying Dim Sum, and everyone really enjoyed the food. We tried so many things, and we all were stuffed when we left for a really reasonable price. I believe there is one step required to get into the restaurant so it may not work for those who are primary wheelchair users, but it was easy for Dave and Peggy to navigate.

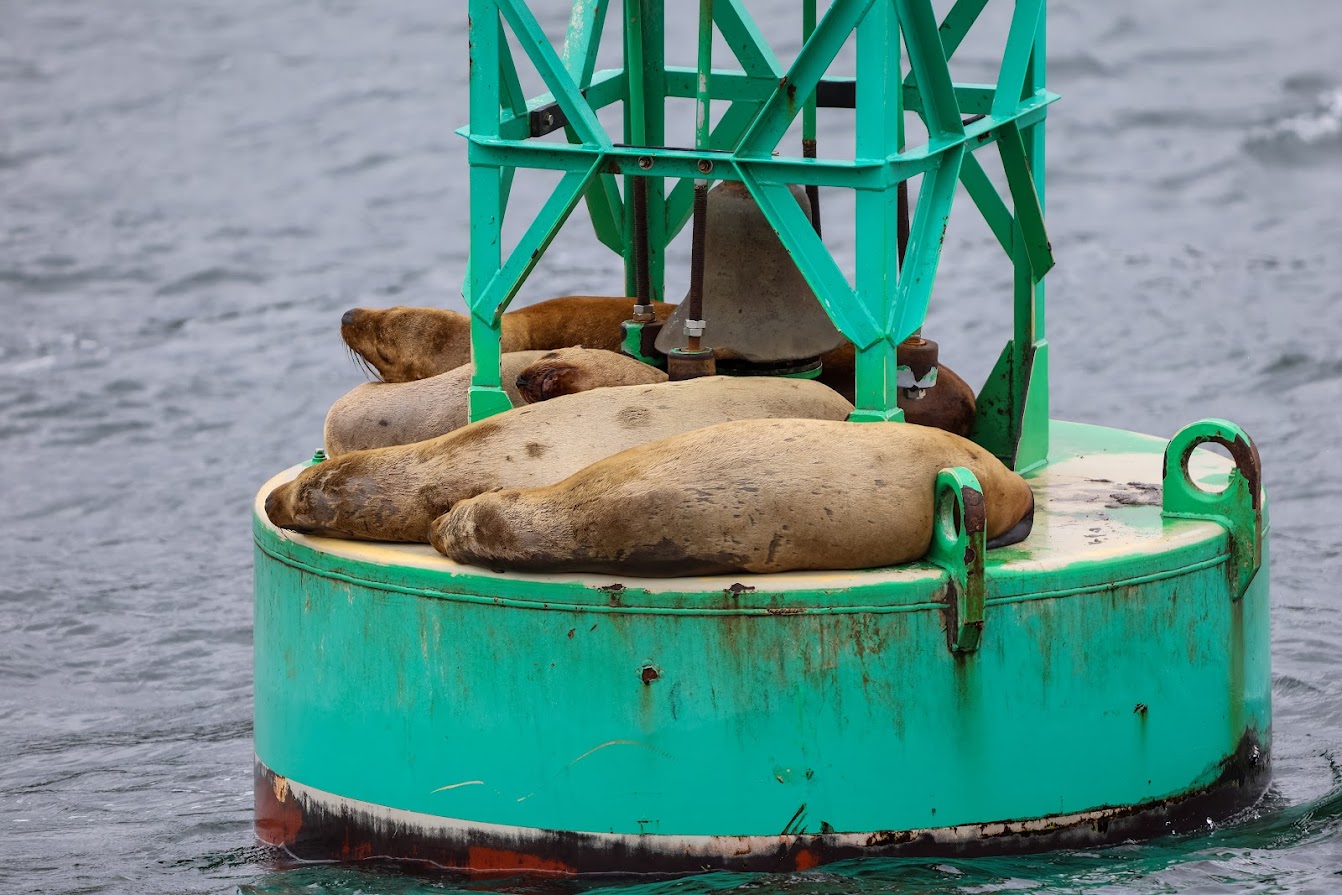
    Whale Watching – Orcas, Seals, Sea Lions, and More

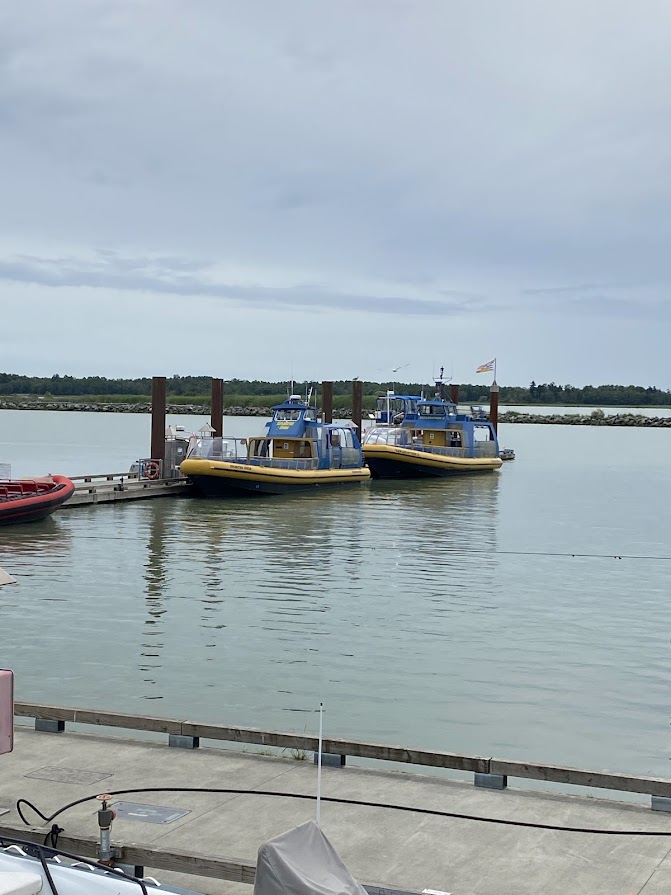
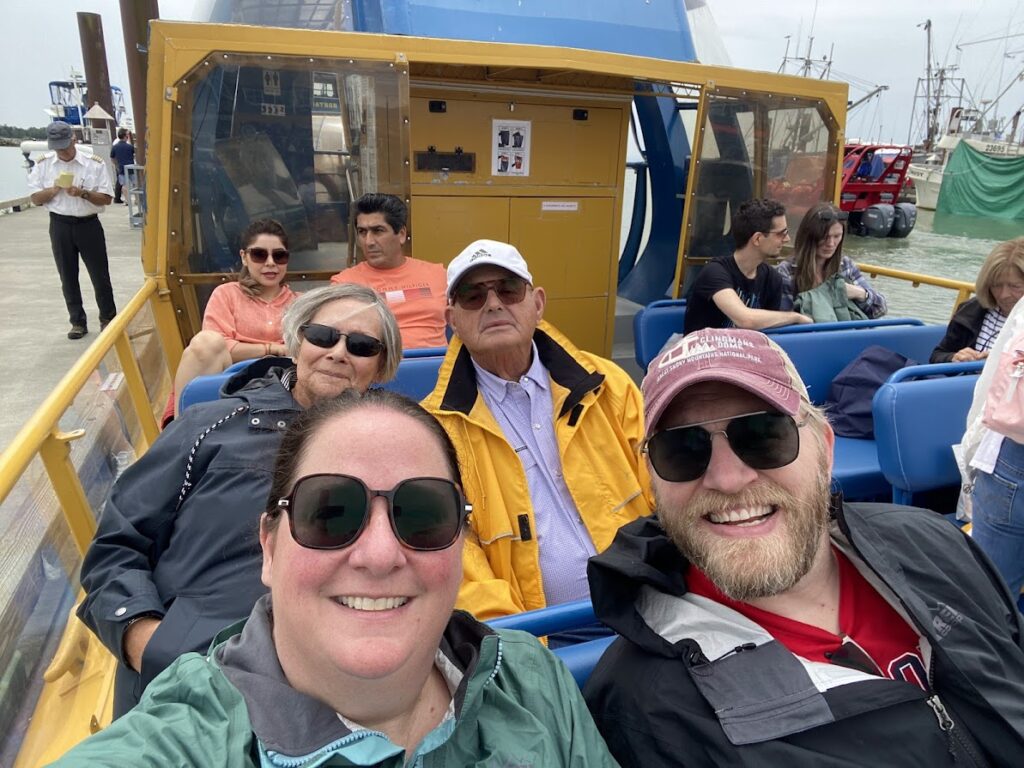
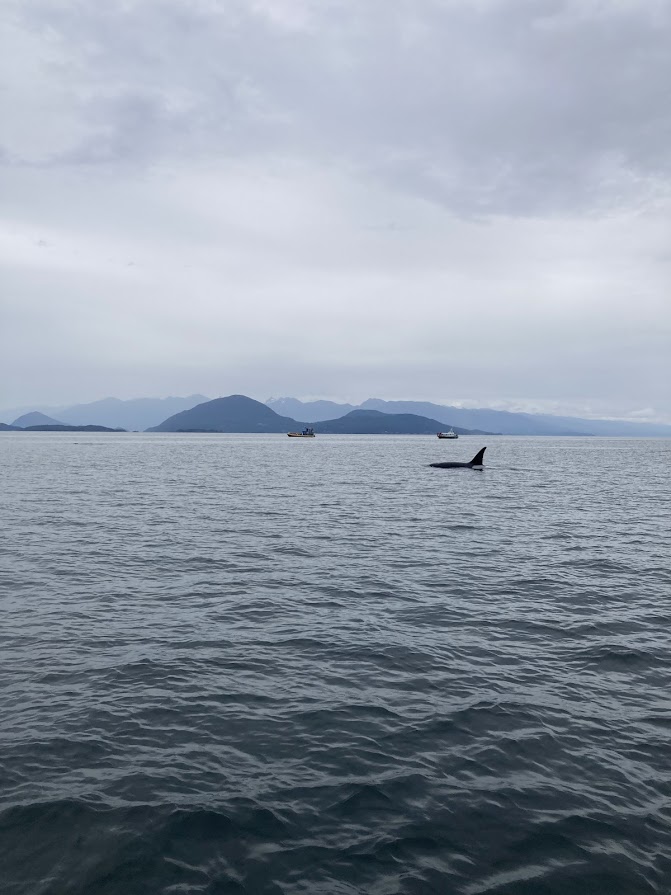
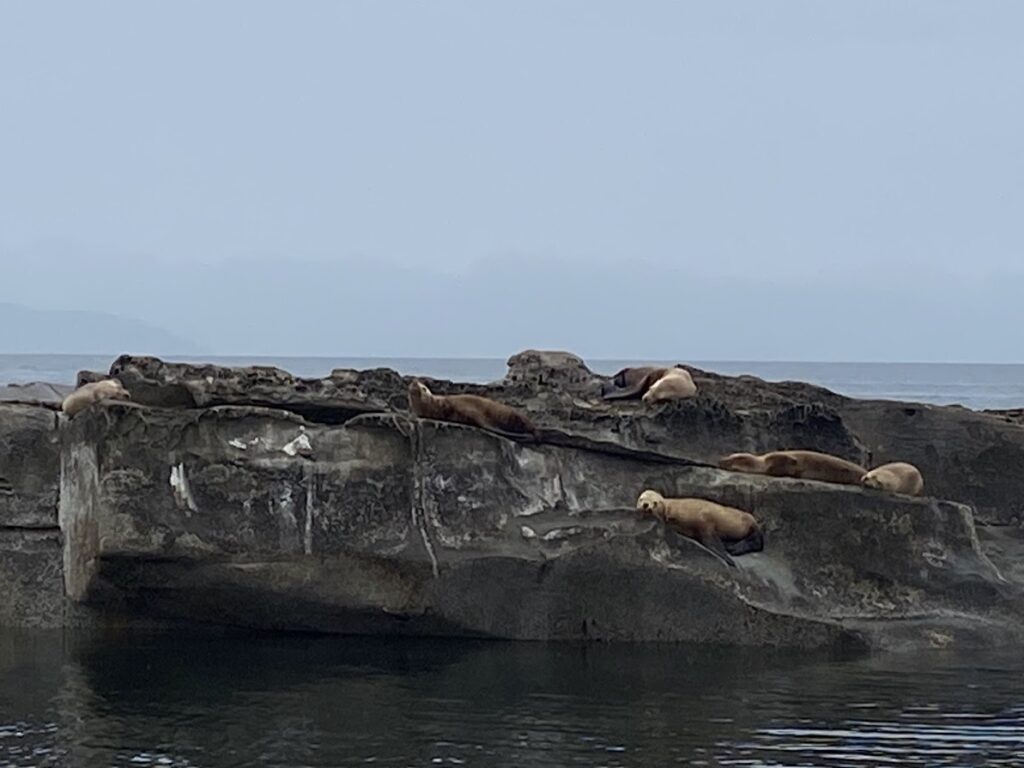
    The boats are open, which is better for viewing the wildlife, but it was cold out on the water so bring warm layers with and be prepared for rain. Our boat was the Explorathor II, which is not wheelchair accessible. Getting on and off the boat was near the limit of Peggy and Dave’s mobility, and Dave had to be extra careful stepping off the boat as he feared falling. This is not a stop for someone who is
    a primary wheelchair user who cannot ambulate at all. There is no ramp for entering
    and exiting the boat so you will need to be able to walk up a few steps to board this
    boat.

    Best Breakfast in Town!

    The next morning, we walked/rolled to Jam Café on Beatty Street. I am not
    exaggerating when I say that this was the best breakfast my dad had ever had, and he is a breakfast connoisseur. Get there before they open. We arrived shortly before they opened, and we managed to snag the last table inside the restaurant once they opened.

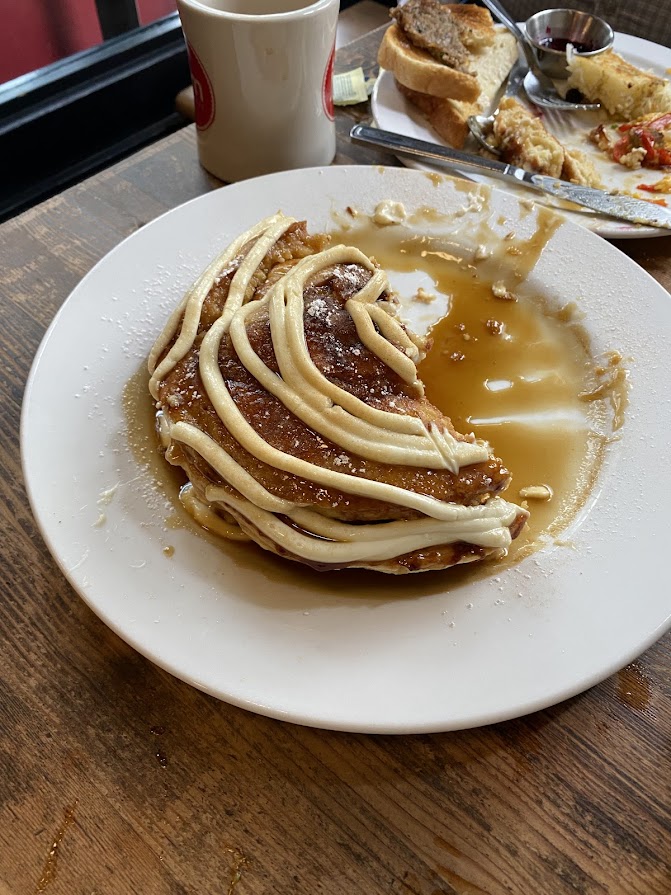
    There are a couple of steps to enter the restaurant, but I believe they told me that they had an accessible entrance in the back. Call to confirm if you are not at all ambulatory. The restaurant is tight and would be hard to navigate while in a wheelchair. They graciously stored Dave’s wheelchair for us out of the way while we were dining. If you have a sweet tooth, you absolutely HAVE TO try the Cinnamon Bun pancakes, which we shared for the table.


  • Long Weekend in Seattle with Limited Mobility

    After Dave got his travel wheelchair, our first trip was to Seattle with one of our friends.  Seattle was an incredibly handicapped friendly city.  During our long weekend, we learned quite a few things.

    First, people with handicapped placards don’t have to pay for public street parking in Washington state.  While time limits still apply, public street parking is free for people with placards.  This was a HUGE bonus for us as our Airbnb allegedly had parking included, but when we arrived our parking spot was occupied.  There were a couple disabled spots marked near our Airbnb with no time limit listed so we were able to park there for free, using our placard from our home state.  

    Photo by Jason Leung on Unsplash

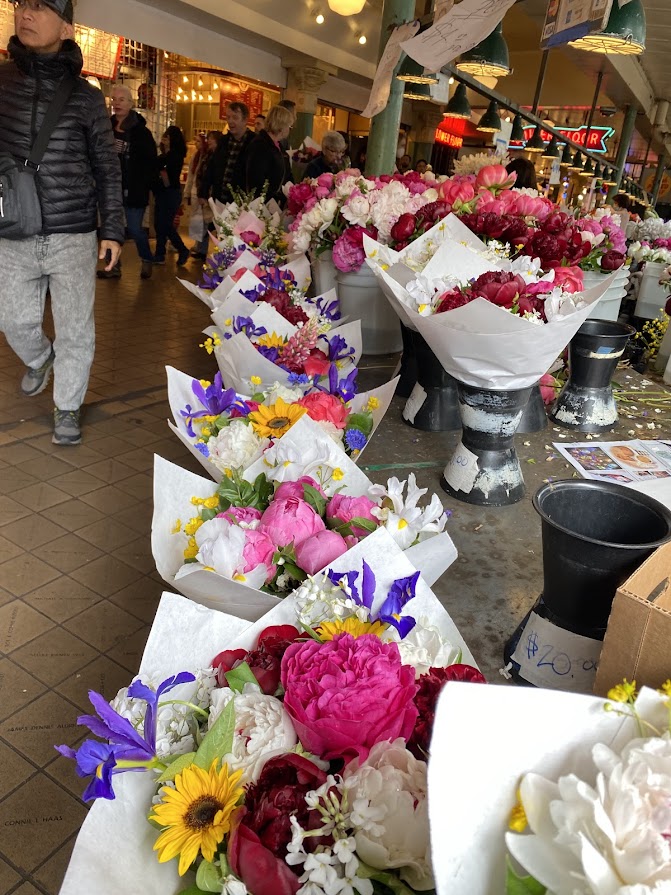
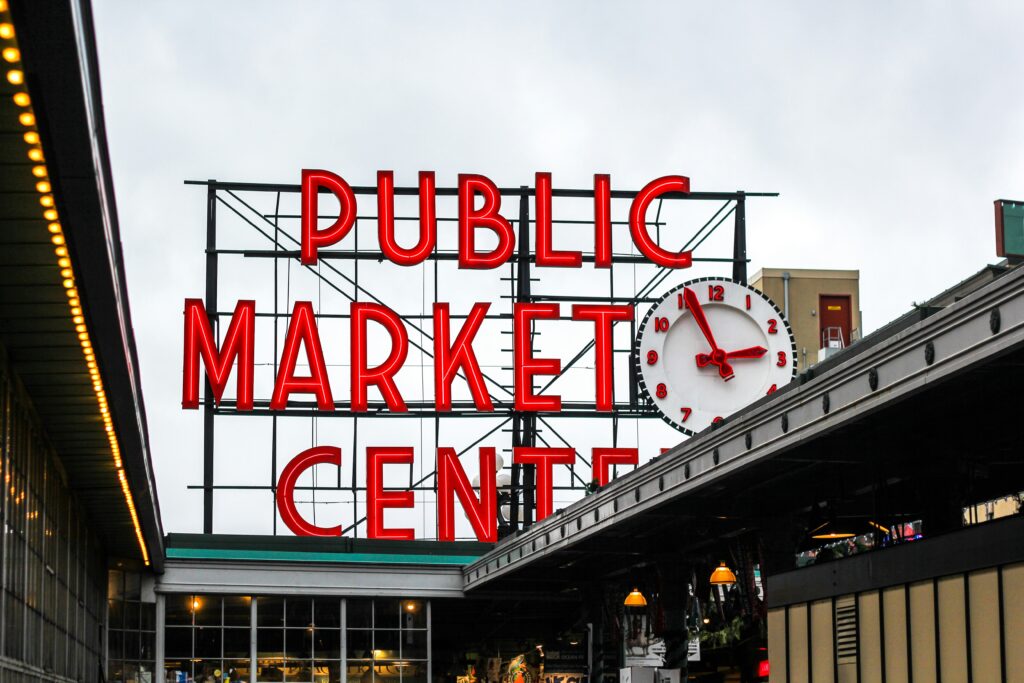
    We were able to walk/roll from our Airbnb near the convention center to Pike Place Market to the Seattle Aquarium and back with no issues.  In total, we walked/rolled roughly 9 miles on one charge that day. While there are cobblestones around the front of the market, the Golden Cricket had no problems with them, and Dave was easily able to navigate most of the market.  People in the market are a challenge as they like to jump in front of the wheelchair, but Dave was able to really explore the whole market as he wished.

    For lunch, we ate at Place Pigalle.  Place Pigalle is down a half flight of stairs from the main market and is not fully handicapped accessible, so Dave had to walk down the stairs to enter the restaurant, and I had to carry his wheelchair down the half flight of stairs.  There is a sturdy railing, though, and Dave had no problems navigating the stairway.  Despite the restaurant’s small size, Place Pigalle found a place for me to put the wheelchair, so it was out of the way, and we got to enjoy a seat by the windows with a view of Puget Sound.  The food was delicious, especially the mussels.  

    Photo by Amanda Bear on Unsplash

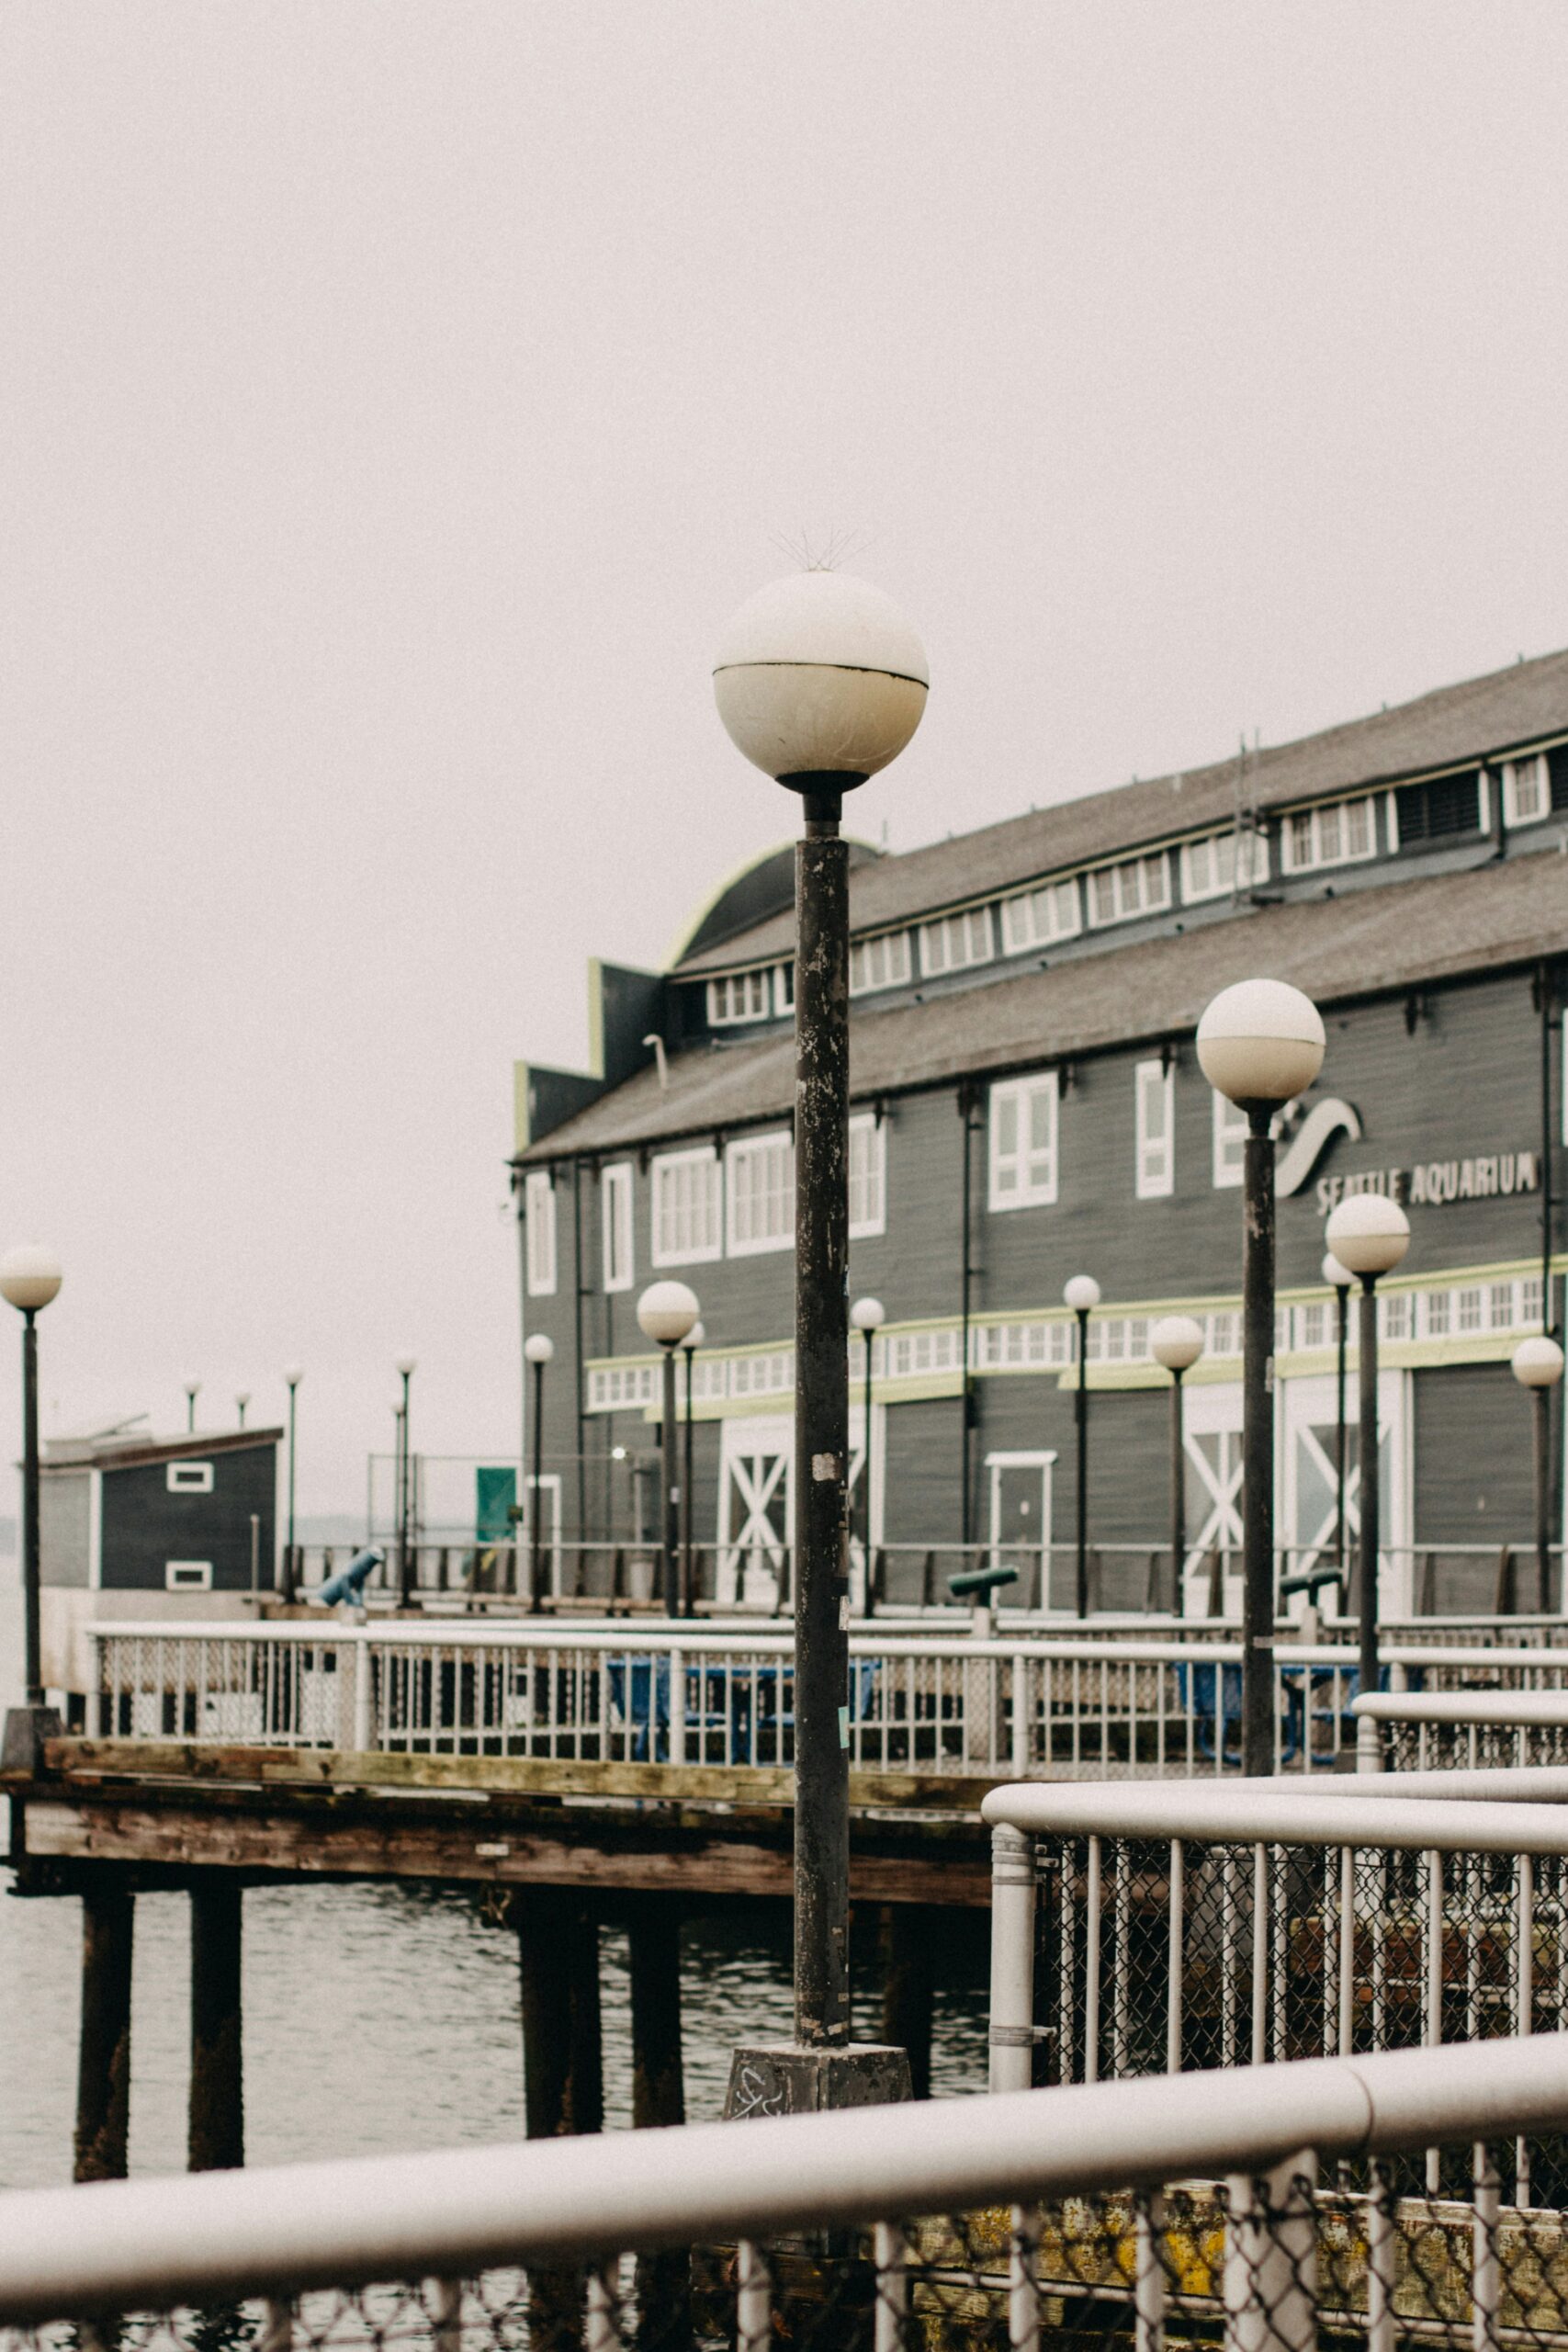
    After lunch, we took an elevator in Pike Place Market down to Western and then took a second elevator, the Waterfront Elevator, down to Elliot Way to get to the Seattle Aquarium.  Since our visit, I believe a new Skybridge elevator has now opened that will allow wheelchair users to get from Pike Place Market down to Elliot Way or Alaskan Way.

    The Seattle Aquarium is fully accessible, and Dave was able to visit almost all areas of the Aquarium without getting out of his wheelchair.  It’s a very good Aquarium.  The aquarium gives a $2 off discount for persons with disabilities and required aides get free admission with disabled individuals.  Reservations for aides are not required.

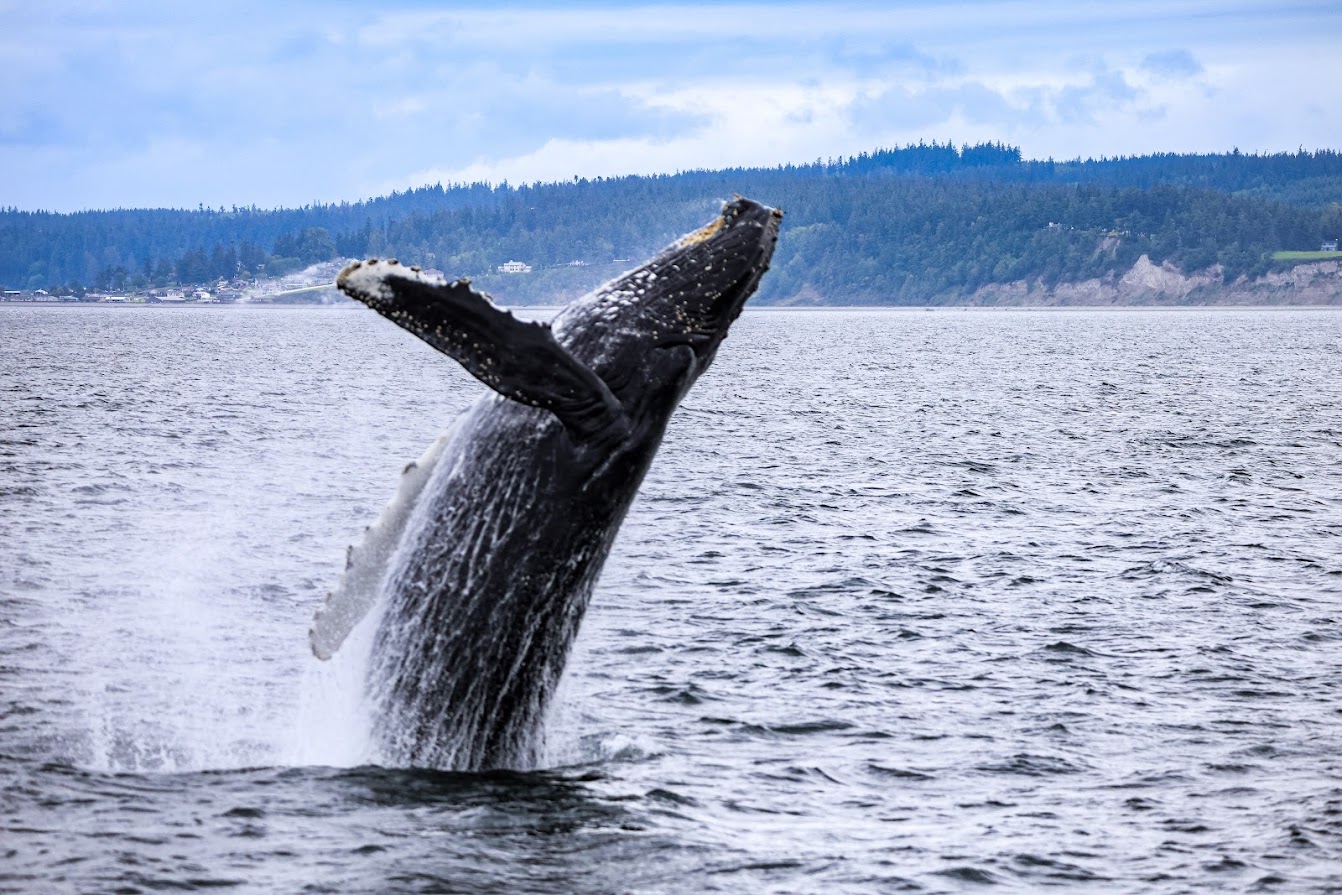
    The following day, we  took a whale watching tour aboard the San Juan Clipper right from Pier 69 in Seattle.  The trip was amazing, and we had good luck seeing a lot of whales.  We even had a whale breach right in front of the ship!  While the San Juan Clipper is accessible, at the time we visited, it only allowed manual wheelchairs aboard, not motorized wheelchairs, so we left Dave’s wheelchair in the car.  There is one wheelchair accessible bathroom on the ship.  Boarding and disembarking from the San Juan Clipper was easy for Dave with a wide gangway and rails to hold onto.  To get to the open air upper deck, you do have to walk up a flight of stairs, but there is a sturdy railing.  

    For dinner, we ate at Umi Sake House.  If you do so, make sure to tell them about any mobility restrictions you may have as they have some traditional Japanese seating with lowered tables and many of their tables are booths.  They were glad to accommodate our seating needs and even called to confirm that the type of table we would be seated at would work for us.

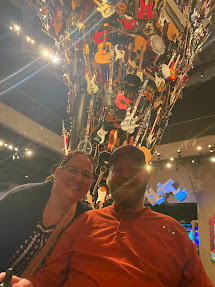
    On our third day, we  visited Seattle’s Museum of Pop Culture, which is a fun way to spend a few hours in Seattle.  The museum is fully accessible with accessible parking very close to the entrance.  If you have limited mobility and don’t have your own wheelchair, the museum has wheelchairs available for loan on a first-come, first-serve basis. For people with sensory disabilities, the museum also offers noise cancelling headphones and sensory bags as well as hidden disability sunflower lanyards.  

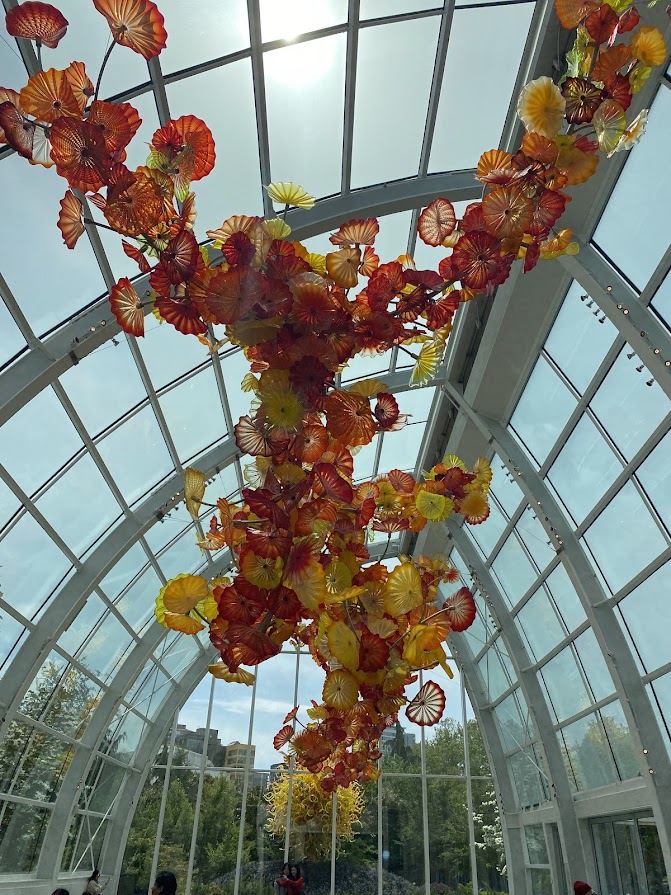
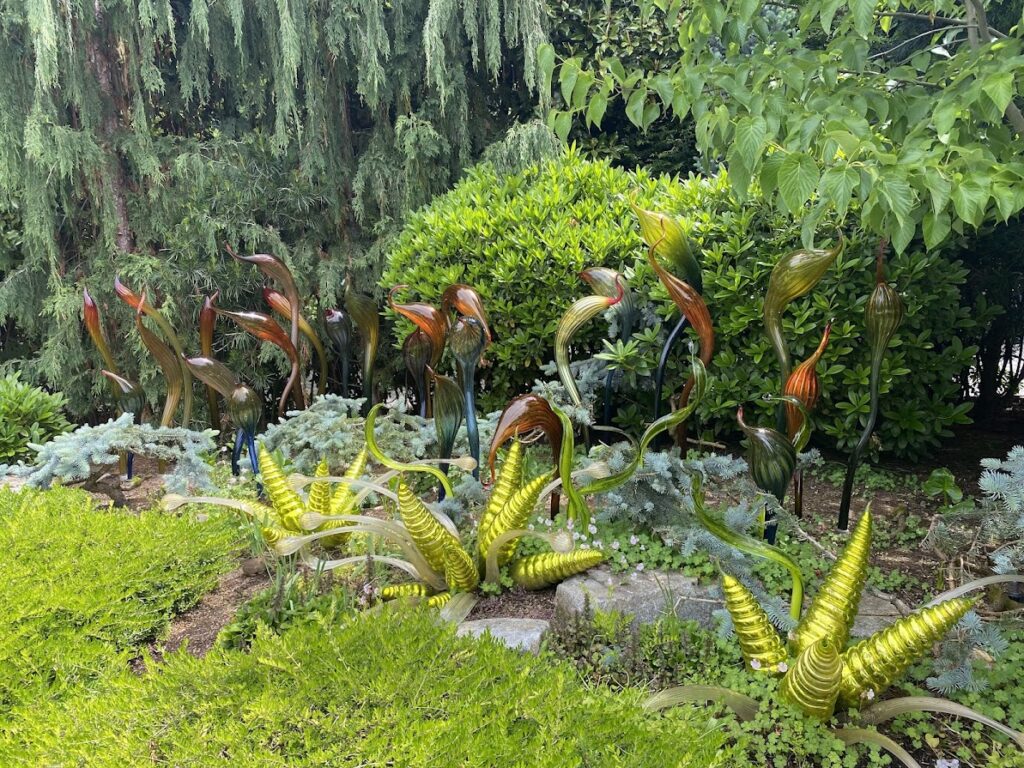
    After the Museum of Pop Culture, we walked/rolled over to Chihuly Garden and Glass.  I highly recommend visiting this museum if you have time while you are in Seattle.  The art is just so incredible.  The Chihuly Garden and Glass also has some complimentary wheelchairs available.  All of the galleries, including the garden, are fully accessible.