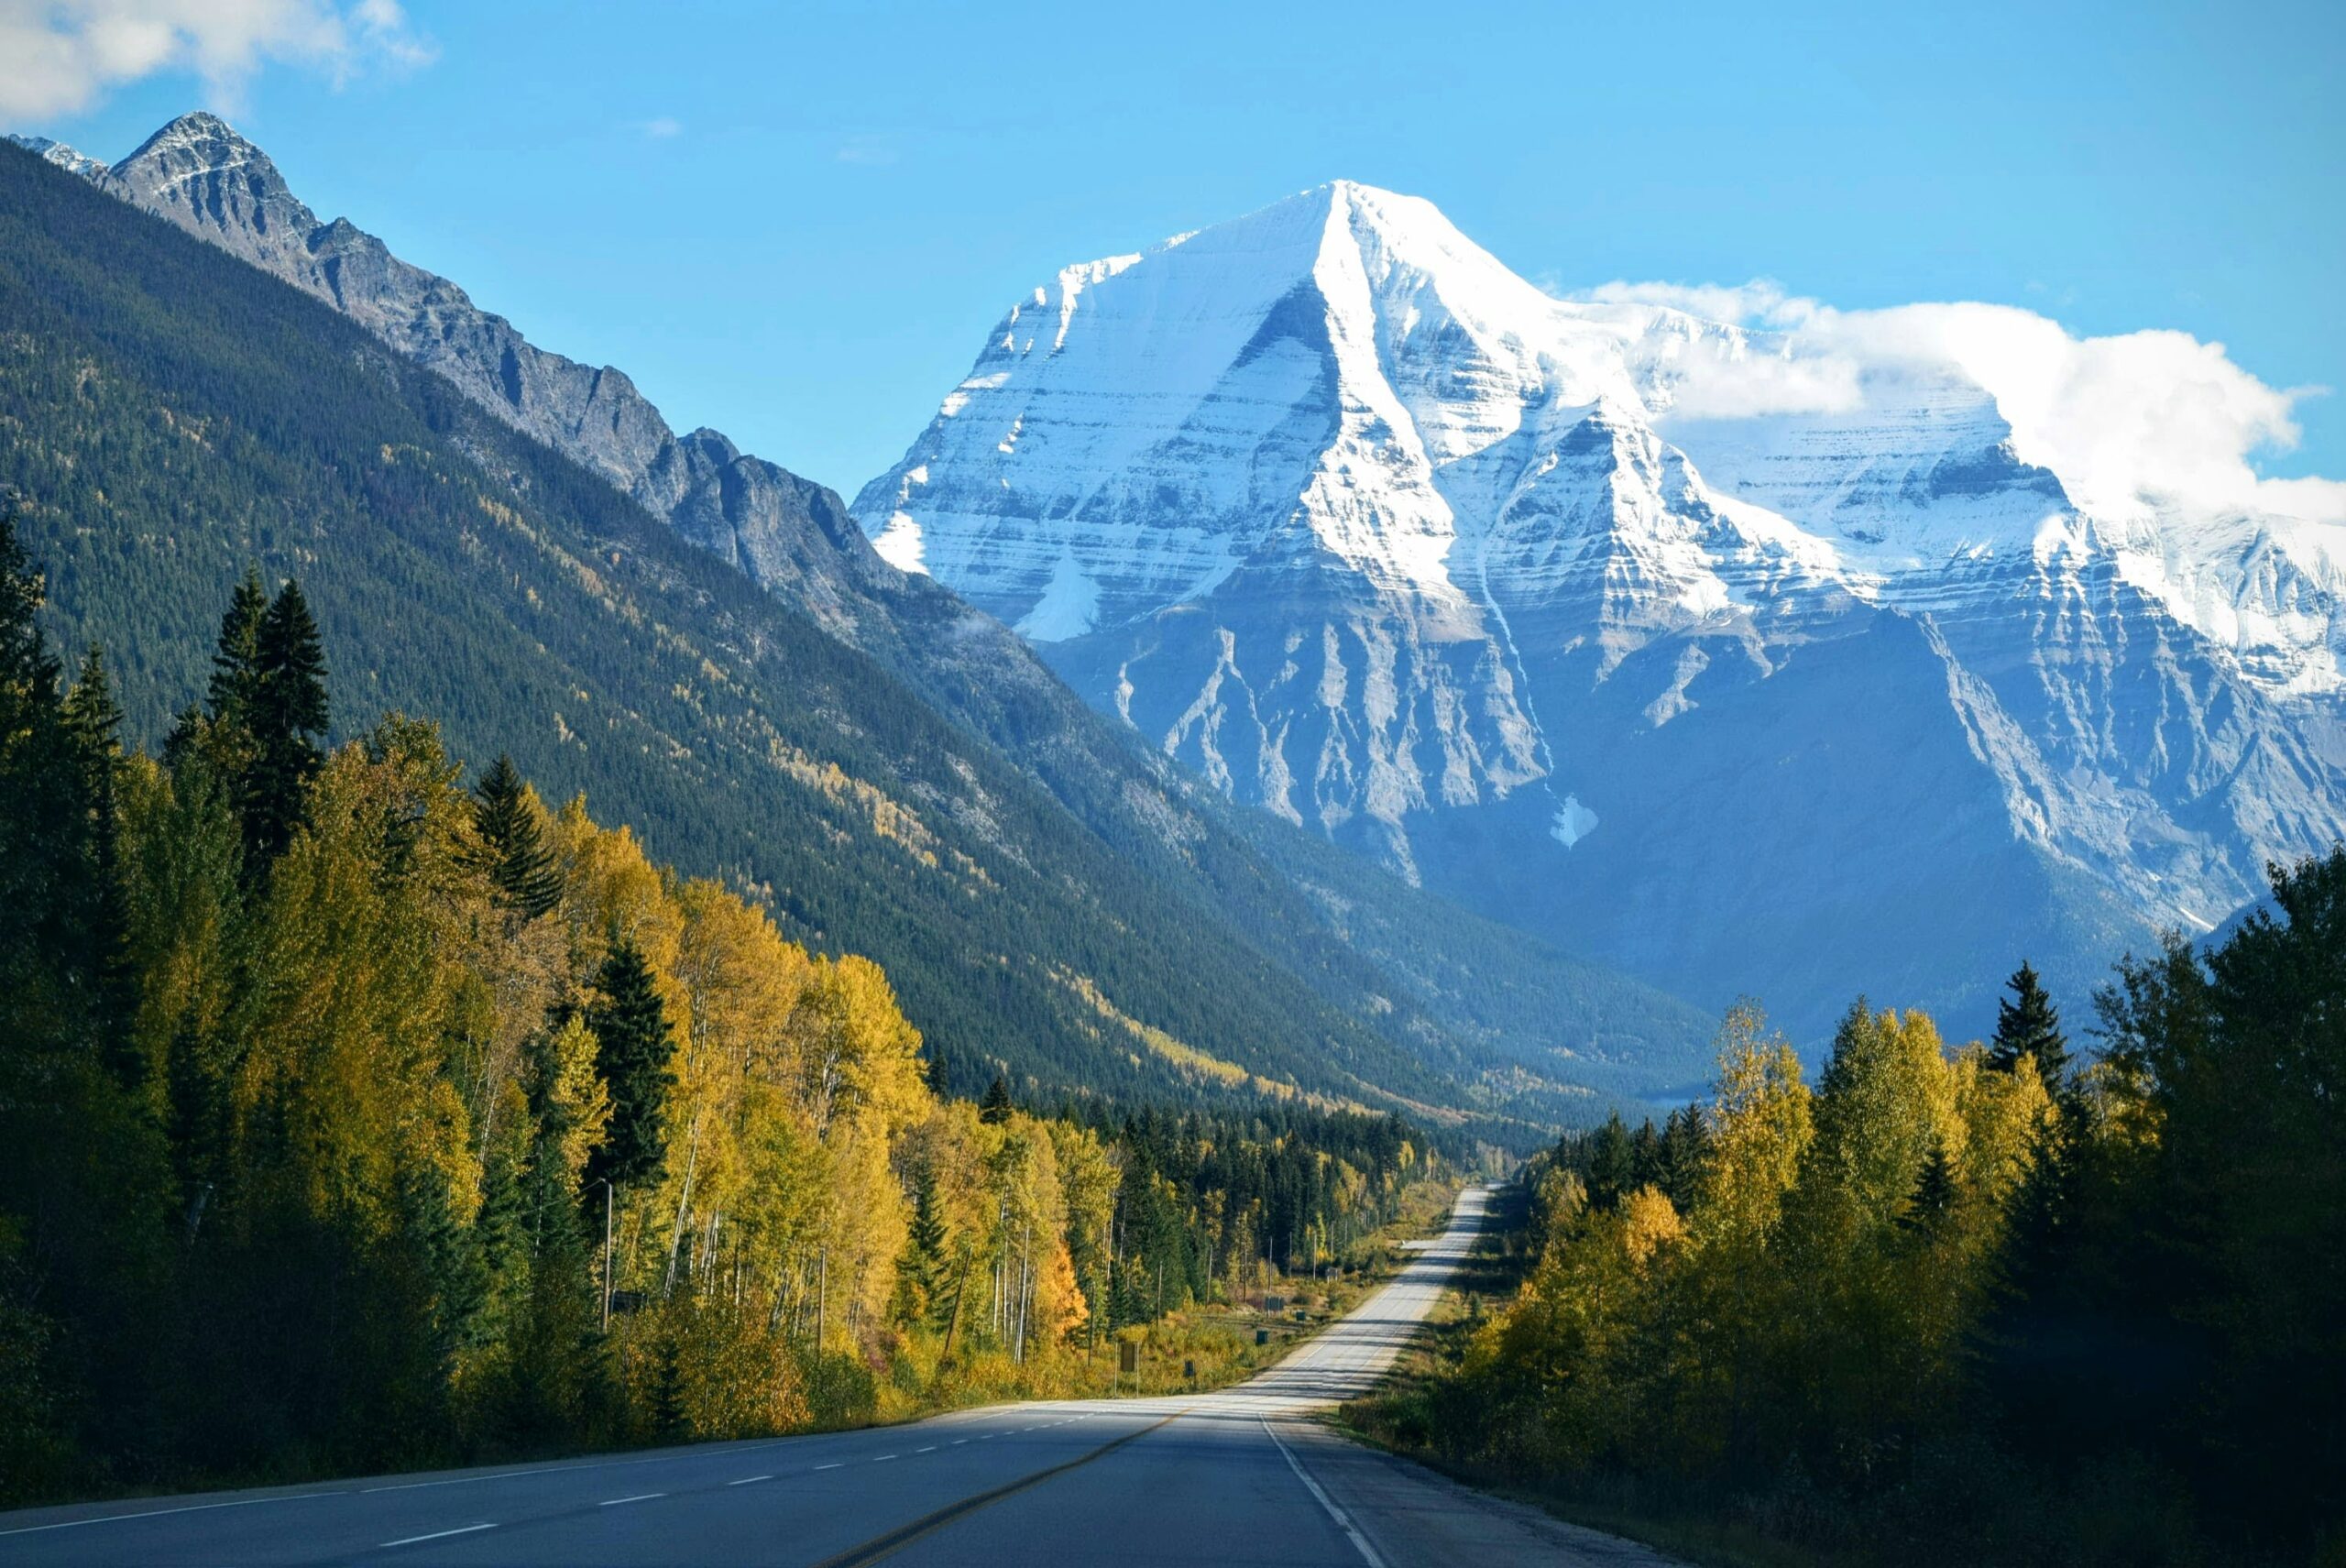
The Icefields Parkway
One of the best days of our entire trip was the day we spent driving the Icefields Parkway from Jasper to Banff. The journey is only 180 miles on Highway 93, but get an early start, take your time, and enjoy the views. There are very few drives as magical as the Icefields Parkway. As you drive this route, you will pass waterfalls, glaciers, and majestic mountains.
GuideAlong
As usual, we relied on our friend with GuideAlong to tell us where to stop and to give us information about the journey that we were undertaking. I had done some research in advance so I had a good idea of the options stops that would work best for Dave and Peggy. I highly recommend using the audio guide if you drive this route. I know it sounds like I am advertising for this company, but really, I am not. We just found this to be the single best purchase of our entire Canadian trip.
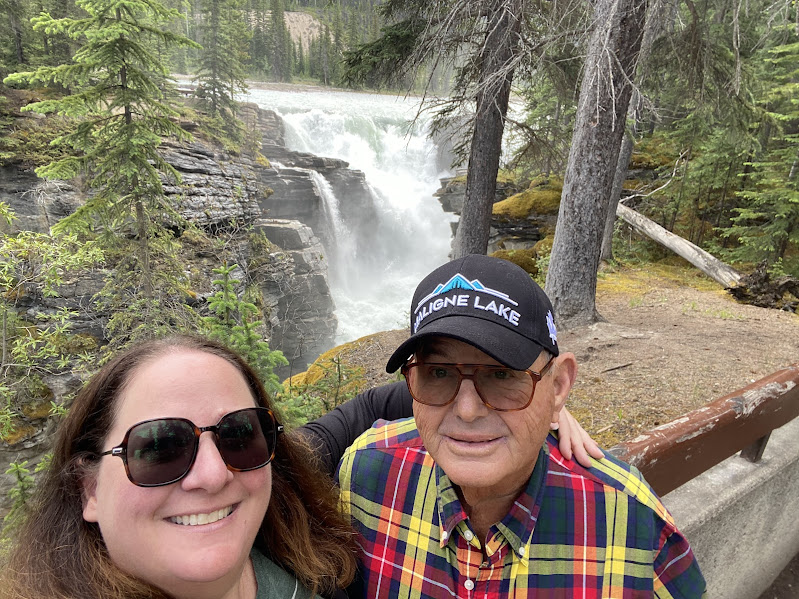
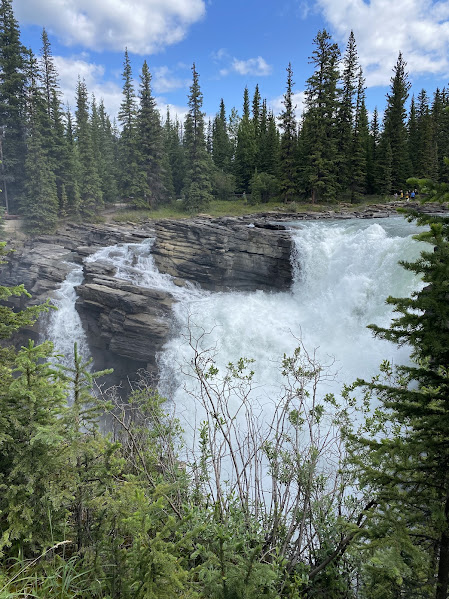
Athabasca Falls
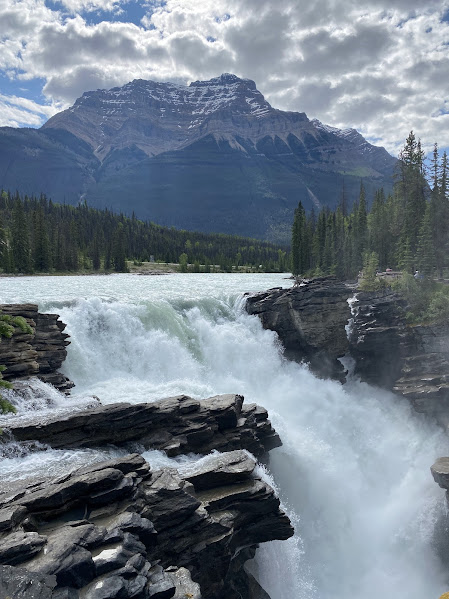
Our first stop on the Icefields Parkway was Athabasca Falls. The walk from the parking lot is short and relatively level so both Peggy and Dave were able to make it to the viewing point for Athabasca Falls. Only 30 kilometers from Jasper townsite, Athabasca Falls, while not very tall, is very impressive as it is one of the most powerfall falls in the Canadian mountain national parks.
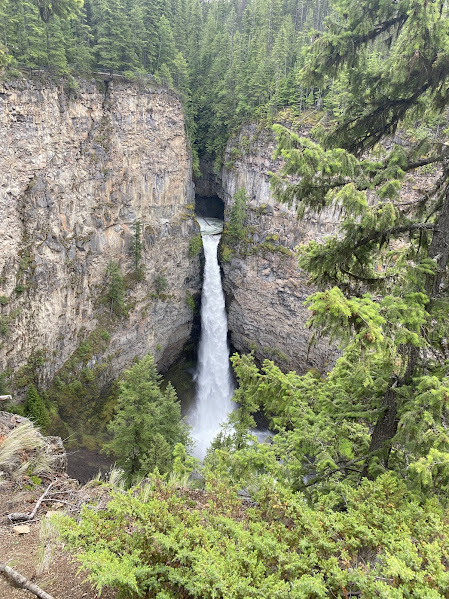
Sunwapta Falls
Our next stop was Sunwapta Falls, just 25 kilometers further down the Parkway. Sunwapta Falls, named after the Stoney word for Turbulent River, is located on the Sunwapta River that originates from the Athabasca Glacier. The path to the upper falls is paved, but the real view is from the lower falls, which is not accessible.
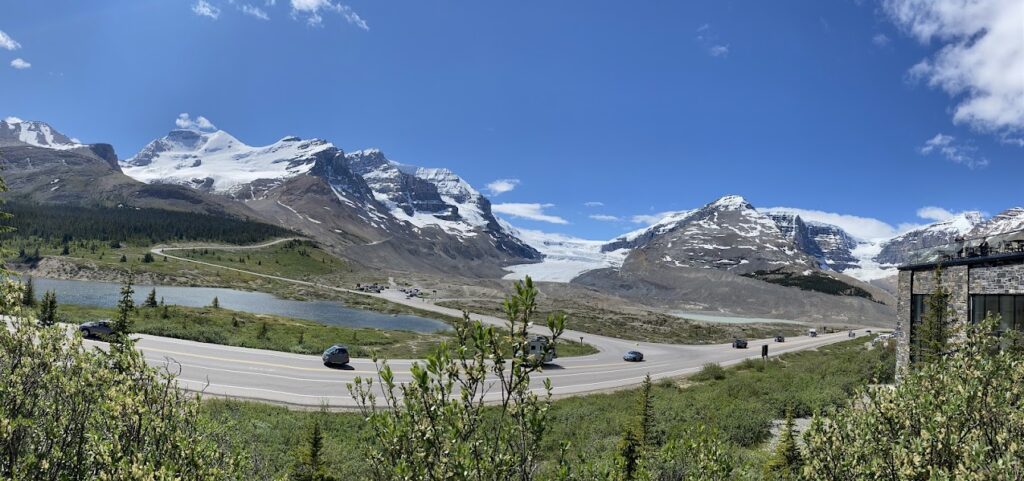
Columbia Icefield Discovery Centre
One of the can’t miss stops on the drive is the Columbia Icefield Discovery Center and Athabasca Glacier. At the Discovery Center, you can book the Columbia Icefield Adventure Tour, which will take you onto the glacier on an Ice Explorer, a big bus designed to be driven on the glacier. The Icefield Adventure can be booked in advance or at the Discovery Center and takes approximately 2-3 hours. If you book the Icefield Adventure in advance, plan to arrive at least 30 minutes early. There is accessible parking in the South parking lot at the Discovery Center, however, you need a code to access the accessible parking. While we were able to get in, it could have been a real challenge.
The Discovery Center is also the access point for the Skywalk, a suspended platform made of glass that overlooks the valley below.
The Skywalk and Icefield Adventure can be booked together for CAD$116 (prices vary by date) or the Skywalk can be booked alone for CAD$45.
You can see the Athabasca Glacier from the Discovery Centre and drive quite close without doing either tour. For those who are able bodied, you can hike to the glacier without doing the tour. The parking area near the glacier is marked with various years of where the Glacier used to stand prior to it receding.
We chose to forego this experience given the amount of time required as Megan has walked on a glacier in Switzerland, and Peggy and Dave did not feel it was something that they could do. But for many people, this is a can’t miss experience when driving the Icefield Parkway.
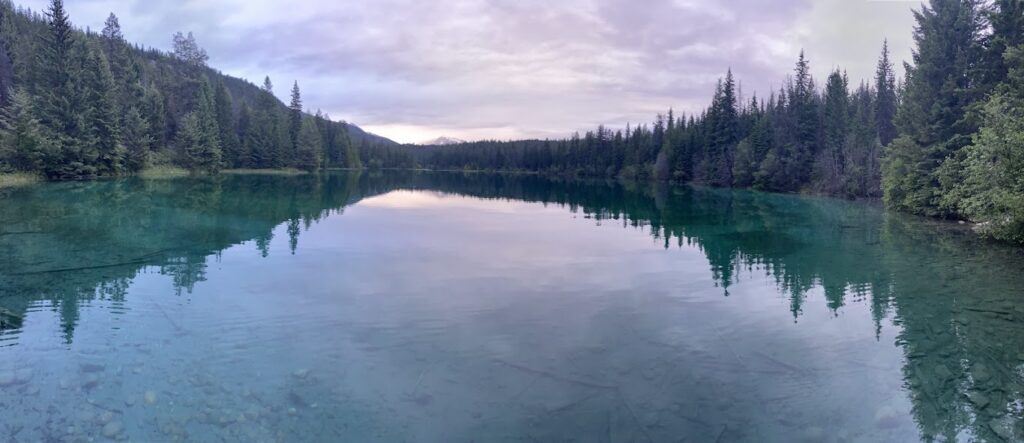
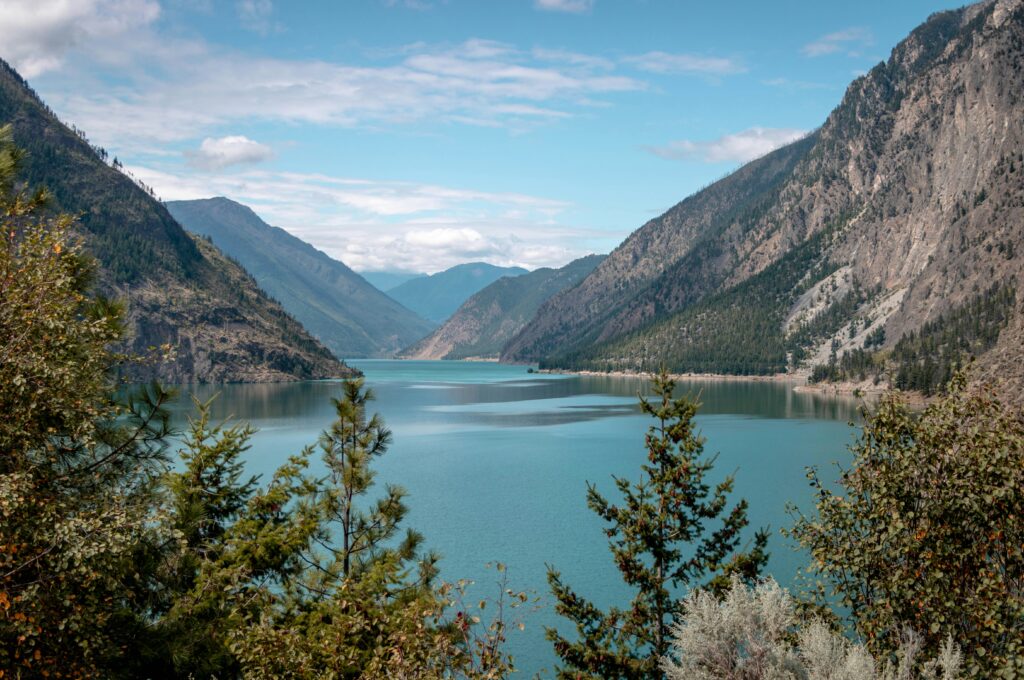
Peyto Lake
Our next stop was Peyto Lake. Peyto Lake was where we made a major mistake. There are two parking lots, a lower lot where most tourists must park and an upper lot for buses and those with accessible parking placards can park. Because we left Dave’s placard at home for this trip, we parked in the lower lot. The walk up to the Peyto Lake viewpoint is quite steep and long. Even though Ken is generally in good shape and has no trouble walking, he bailed out on this viewpoint. Peggy did not make any attempt. Megan and Dave made it up to the viewpoint fine, but the battery on Dave’s wheelchair failed on the return journey…which meant his brakes also stopped working. Megan had to put the wheelchair in manual mode and hold Dave back from falling down the mountain. We don’t recommend trying it. Park in the upper lot instead!!
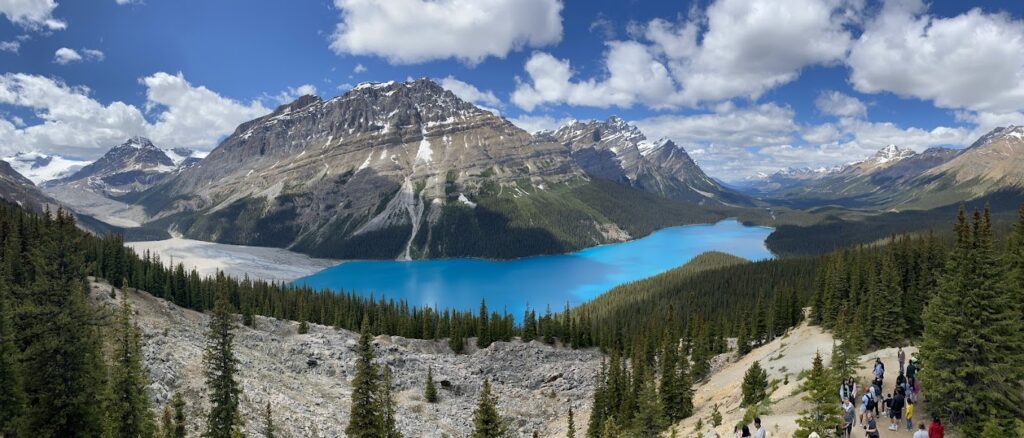
But, we are still glad we did it. The view was worth it! The color of Peyto Lake is impossible to describe. No photo editing was used to create that photo! It really is that blue!
Icefields Parkway Continued
The remainder of the drive takes you past Lake Louise and Moraine Lake as well as the turn off to reach Yoho National Park. We don’t recommend stopping at Lake Louise or Moraine Lake during the drive as parking at these lakes is very limited, and in most instances, you will need to take a shuttle bus. We will discuss Lake Louise, Moraine Lake, and Yoho National Park in our Banff post.